INDI Library v2.0.7 is Released (01 Apr 2024)
Bi-monthly release with minor bug fixes and improvements
Post your INDI Setup!
- Gilles Gagnon
-
- Offline
- Elite Member
-

- Posts: 294
- Thank you received: 54
Replied by Gilles Gagnon on topic Post your INDI Setup!
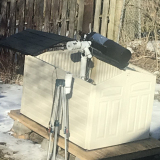
As far as the 'boxes' and control in the observatory, I have a box with power distribution (Powerpole), a Raspi 3 B+ running the observatory (roof relays and limit switches, "Weather Radio" weather station and, once ready, a lightbox for flats). Power is controlled by a Digital Loggers web switch. A PoE network switch provides wired connectivity and monitoring camera connection.
Because of an early mishap, and on my wife's suggestion, I have installed a manual roof control for when I need to work on the obsy as well as a panic button, just in case
") .
.Unless the roof opening system totally fails, I have a battery backup mechanism that feeds the linear actuators in the eventuality of a power failure, controlled by a small wireless remote. I haven't devised a way to get inside yet in case of total failure but I can have access to the linear actuators holding brackets with minimal 'damage' to the roof. I have a nicer solution in mind but I haven't found the hardware for that yet.
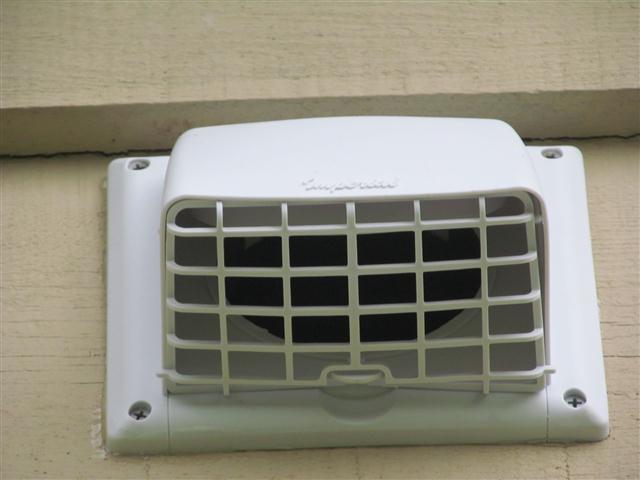
I haven't implemented the ventilation yet as I am not sure on how I want to do it. I have thought of something like the following with a fan controlled by an Arduino monitoring temperature and humidity but I'm still juggling with the idea. I also have to consider snow possibly blocking air inlet, in the equation.
Thanks for the tip on the limit switches. I will look into better ones but an alternate solution I thought of is adding redundancy through magnetic sensors such as door open/close sensors, connected in parallel with the switches. The switches are used to confirm full closure or full opening states, not as actuator limits per say.
As far as the extra plank is concerned, there may not be enough space to install one as the gap between roof and wall is rather small I could probably use the same rubber membrane I uses to protect the hinges side of the roof. Not as elegant but this is not a beauty contest.
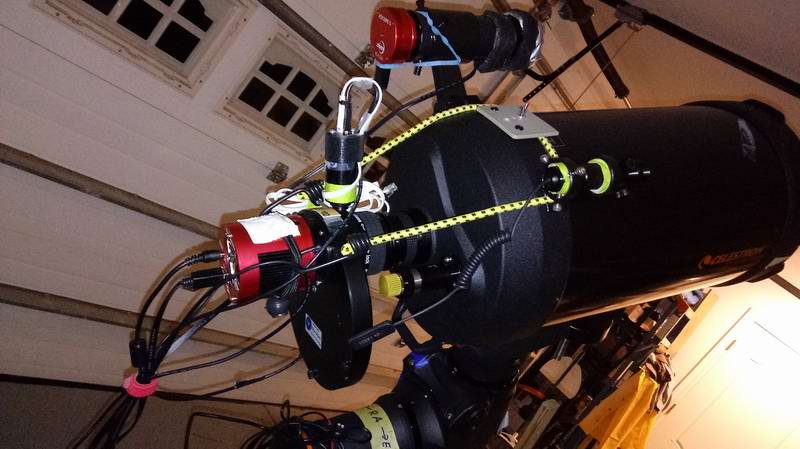
As far as my equipment, it consists of a William Optics GTF81 scope, mounted on an OnStep modified Astro-Physics AP400 mount, all controlled with an ODroid N2 computer and Pegasus Astro UPB. Cameras are ZWO.
Let me know if you want more details.
Please Log in or Create an account to join the conversation.
- Gilles Gagnon
-
- Offline
- Elite Member
-
- Posts: 294
- Thank you received: 54
Replied by Gilles Gagnon on topic Post your INDI Setup!
Please Log in or Create an account to join the conversation.
- Gilles Gagnon
-
- Offline
- Elite Member
-
- Posts: 294
- Thank you received: 54
Replied by Gilles Gagnon on topic Post your INDI Setup!
1) Replaced one of the limit switch with those you suggested. I will replace the second one when the weather is more comfortable (ground has started to freeze here
 )
)2) Installed an Arduino and dual DHT22 based ventilation system that measures inside and outside temperature and humidity and activate the fan if the difference between inside and outside is greater that a threshold but does not bring outside humidity inside if the obsy is dryer. Seems to work fine for now. I have set the threshold arbitrarily at 10C temp and 10%RH, there may be more appropriate values.
3) As I had already installed a 12mm thick x 38mm wide (2 strips) weather sealing strip I haven't had any water or snow infiltration inside the obsy (yet), even in heavy rain and wind. Winter with is snow flurries and wind may be another issue but time will tell.
4) For safety sake, I also have a blinking red LED strip that activates 10 seconds before the roof opens or closes and while it is in motion. It may attract attention but better be safe that injuring someone. I also thought of having a beeper but I don't want to make my neighbor angry in the middle of the night
5) As I use 2 actuators, maybe I should install a system to detect actuator failure so that the roof and equipment do not get damage if an actuator tries to open/close the roof when the other is defective. Any clues on this?
Thanks all
Please Log in or Create an account to join the conversation.

Replied by Joaquin on topic Post your INDI Setup!
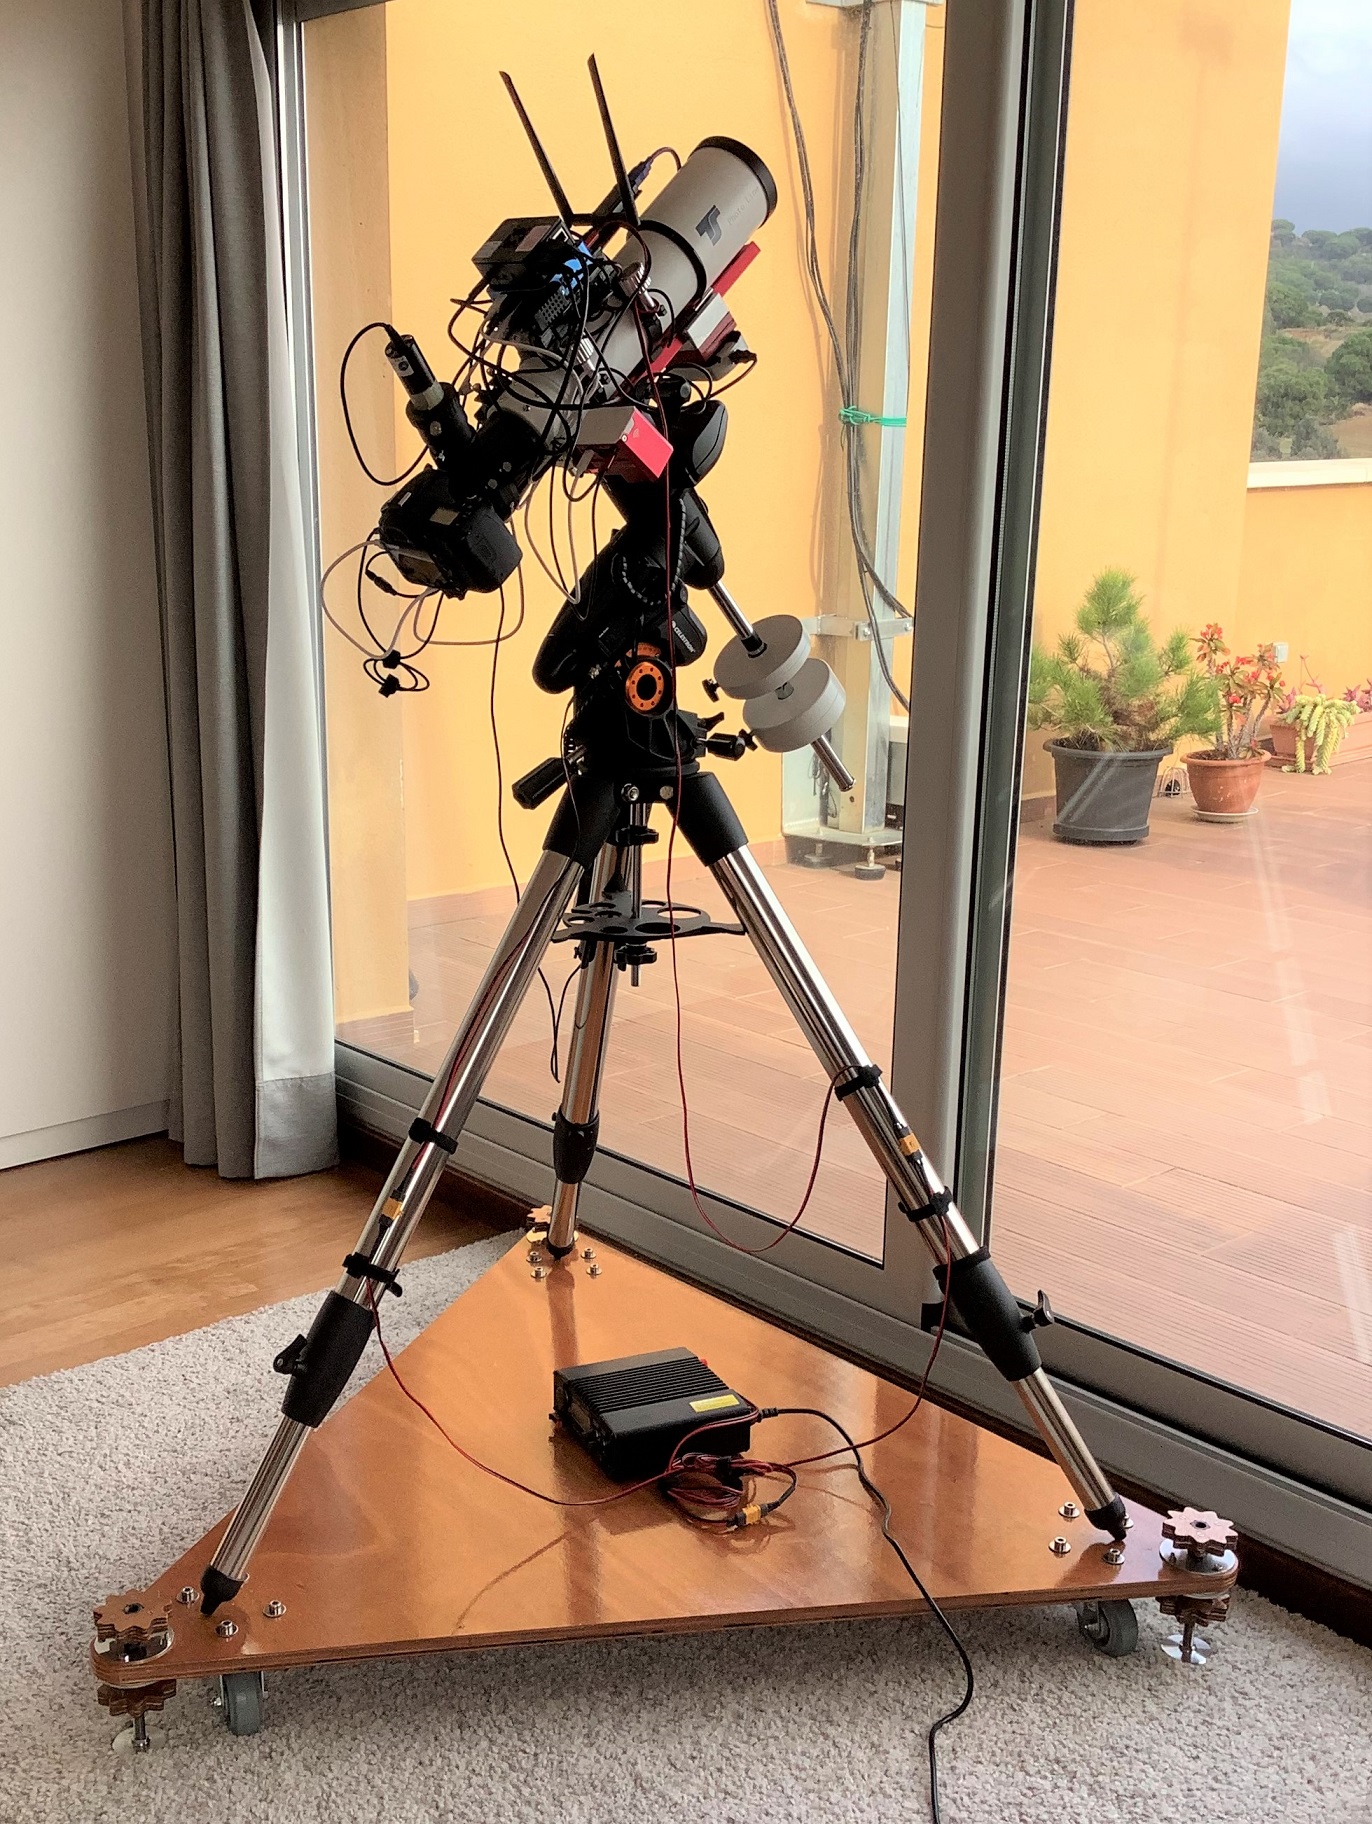
I got the inspiration from @G_Gagnon pictures. This allows me to move easily the telescope from my bedroom to the terrace.
I designed and selected the materials in order to be as stable and manageable as posible.
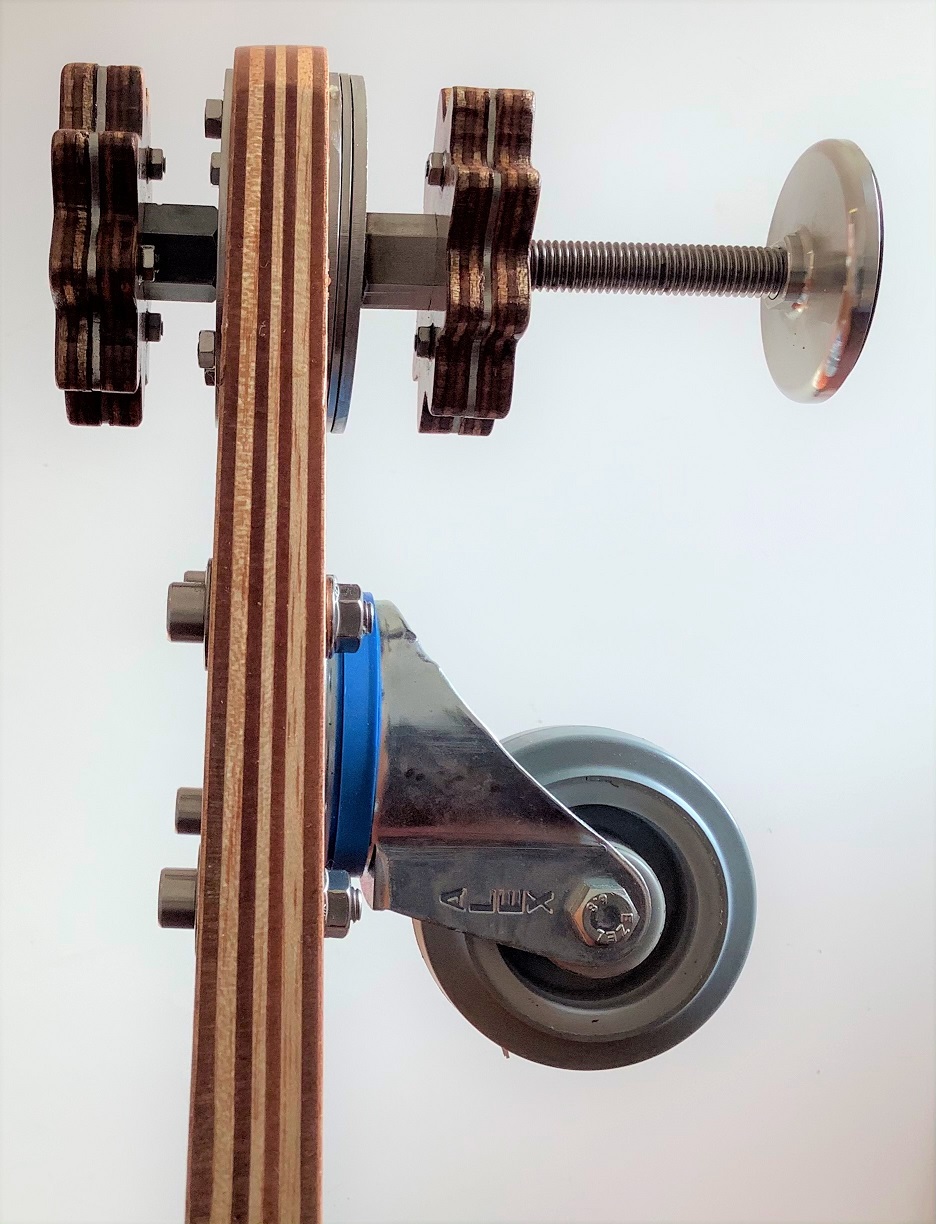
The wheels had to respect the parquet floor (my partner would not accept anything else), it should be able to be leveled with minimal effort regardless of weight and, once fixed at the observation spot, it had to be stable for astrophotography.

The setup includes a RasPi 4 4GB running Stellarmate from a Samsung T5 SSD 250 GB. I use two HUBs for all USB connections, the Pegasus PPBA Advance and a small 3-port USB3 Hub. There is also an external USB3 dual frequency wifi device.
Everything is mounted on a wood support. From top to bottom: RasPi, PPBA and wifi device (at its left), T5 SSD and USB3 Hub.
The SSD The is housed in a pocket of the wood holder with an aluminum closure that can be easily opened to remove the disc when required.
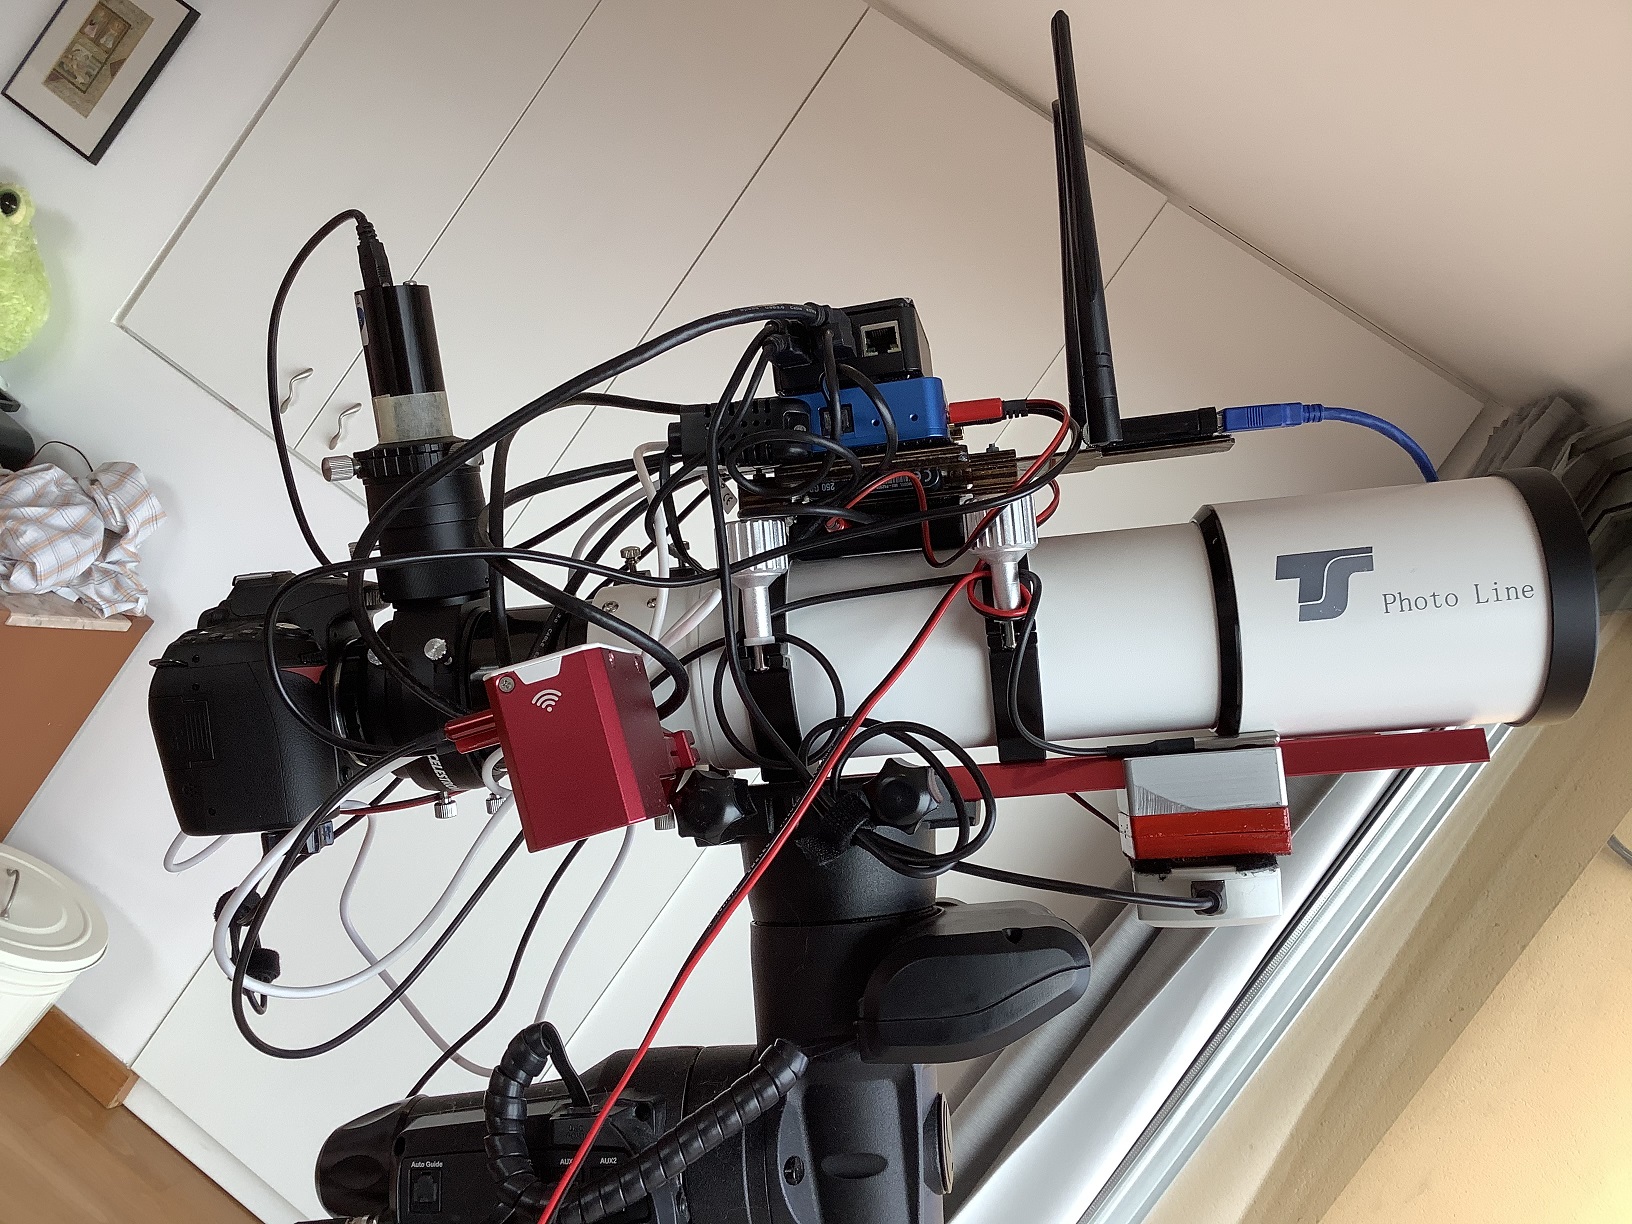
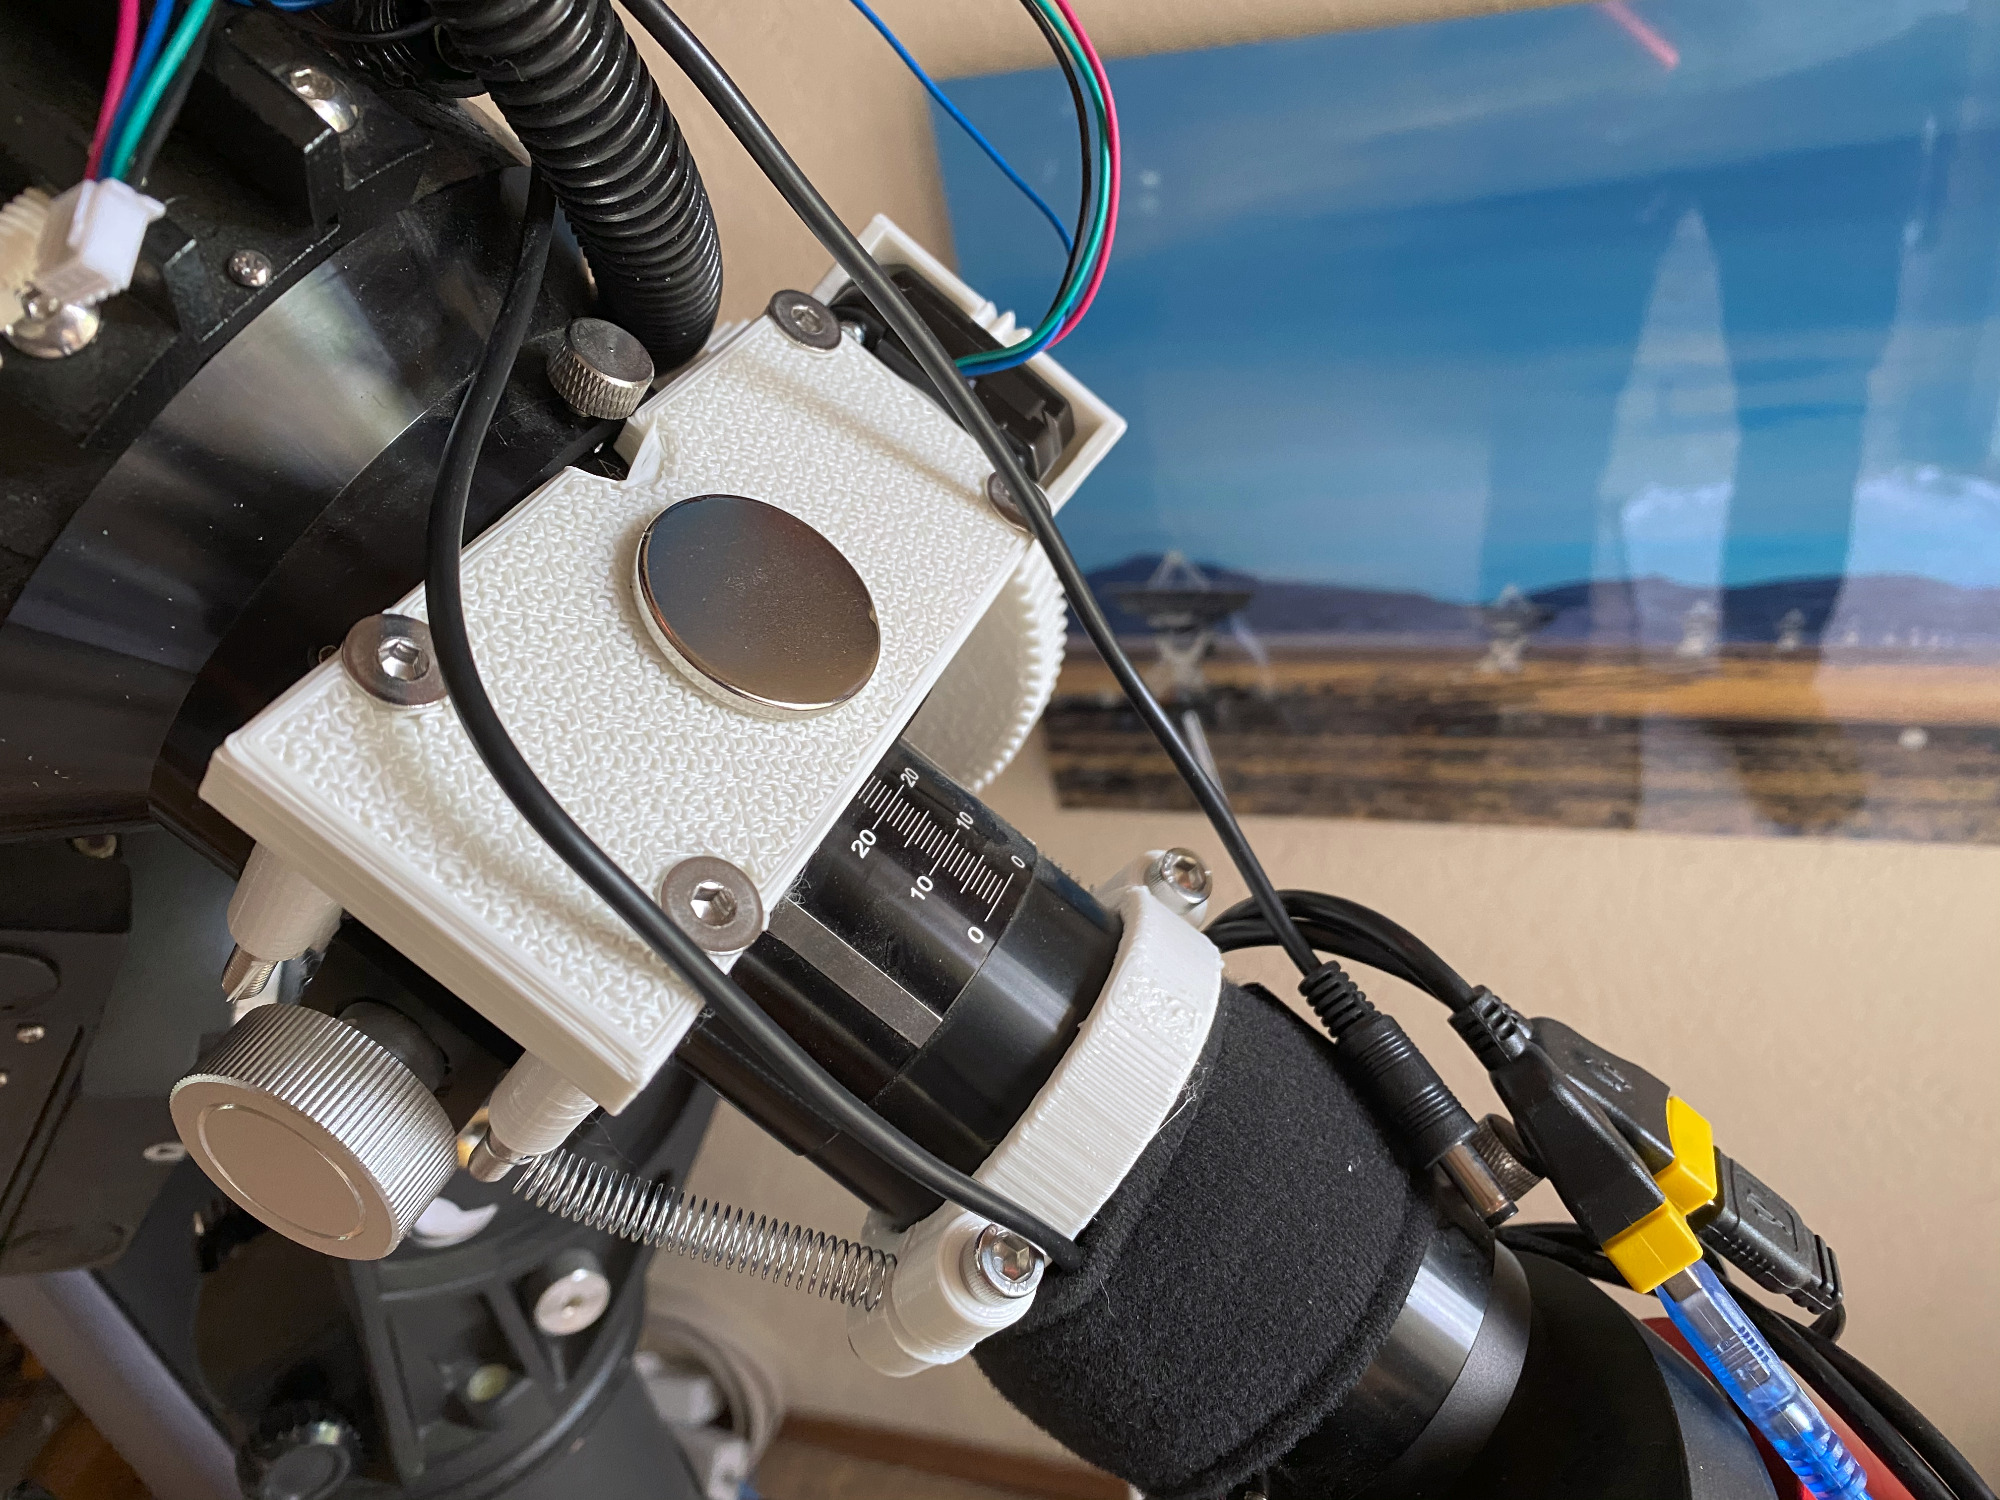
The focuser is the Sesto Senso. In the dovetail rail I fixed a lead plate of those that are used in diving (in red). It can be moved to help balance the weight of the camera. The KMTronic relay for the camera is also fixed under the plate.
I still have to shorten some connections (It is difficult to find some USB cables shorter than 50 cm...) and add a small case/receptacle in the base for a second Raspi I have with a surveillance camera and a GPS, but the hard work is done.
Please Log in or Create an account to join the conversation.
- Gilles Gagnon
-
- Offline
- Elite Member
-
- Posts: 294
- Thank you received: 54
Replied by Gilles Gagnon on topic Post your INDI Setup!
As far as short USB cables are concerned, I faced the same issue as you, most cables are too long, even the short one. What I ended up doing is buy USB 2 male A and B connectors (from Digikey or Mouser) so I could cut existing cables to length and solder the appropriate connector. One medium/long cable would give me 2 shorter ones. So, if you have soldering skills, you could do something similar.
Great work!
Please Log in or Create an account to join the conversation.
Replied by Joaquin on topic Post your INDI Setup!
I have been taking a look at the connectors at RS Components and I think I will try it.
USB 2 is only 4 wires so it should be doable even with shaky hands and poor eyesight...
Please Log in or Create an account to join the conversation.
- Wade Prunty
-
- Offline
- New Member
-


- Posts: 18
- Thank you received: 3
Replied by Wade Prunty on topic Post your INDI Setup!

Please Log in or Create an account to join the conversation.
- Ronald Scotti
-

- Offline
- Elite Member
-
- Posts: 396
- Thank you received: 17
Replied by Ronald Scotti on topic Post your INDI Setup!
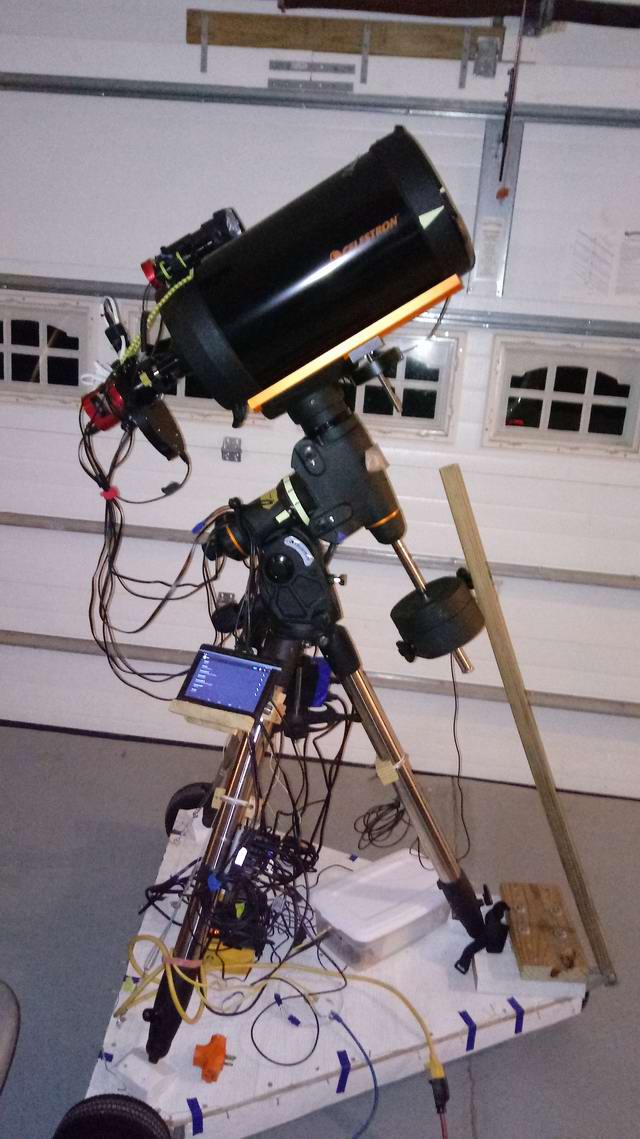
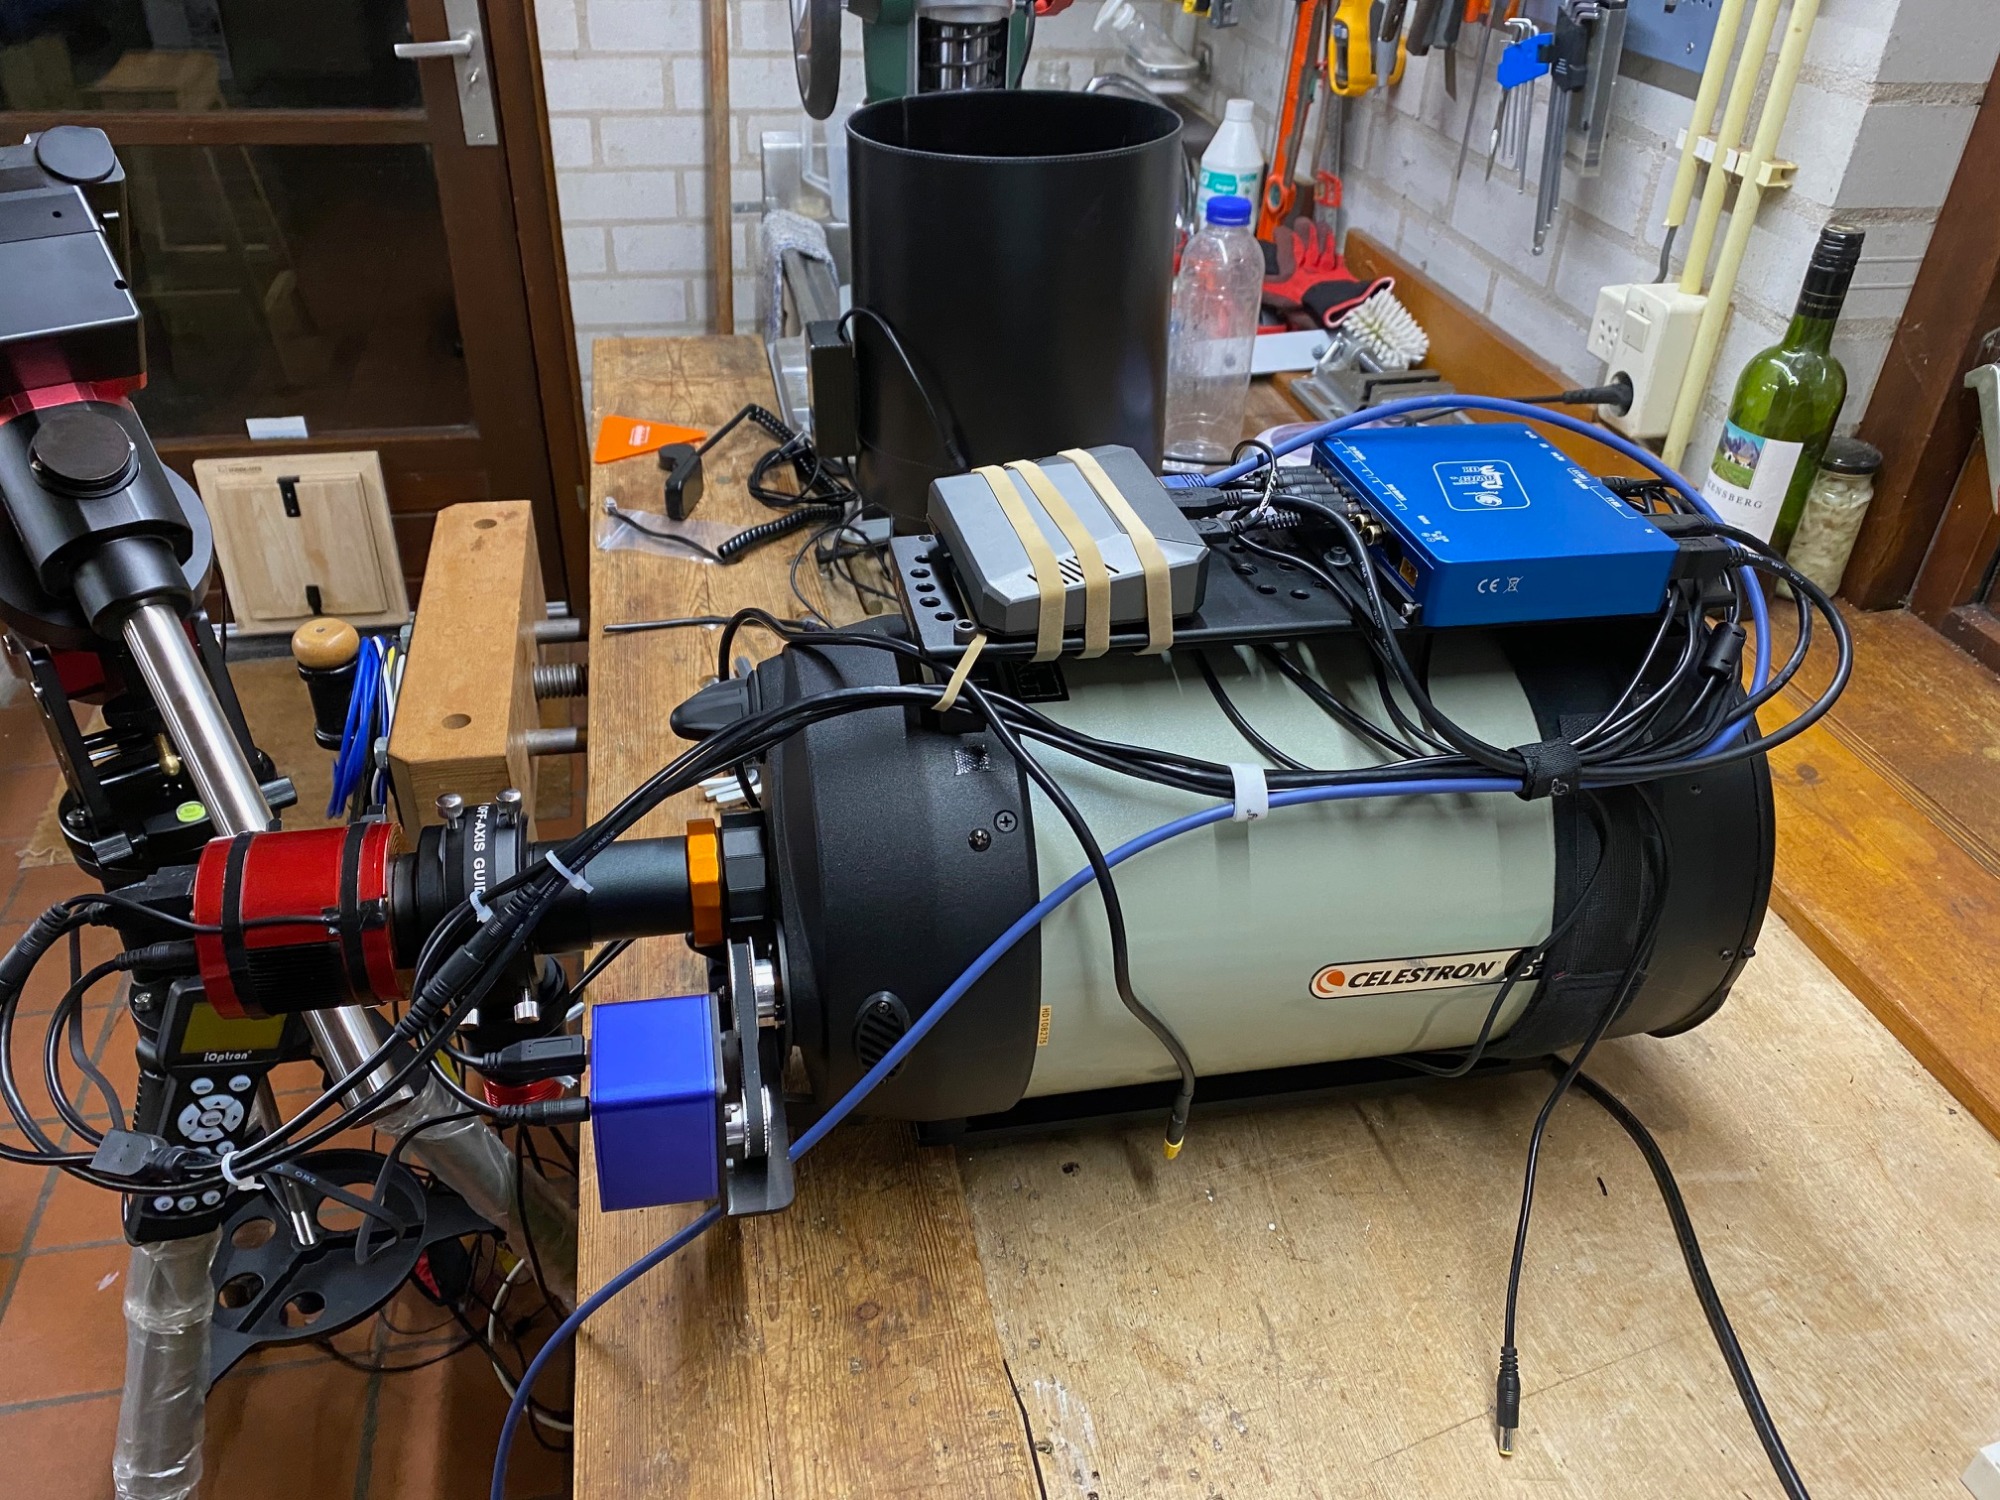
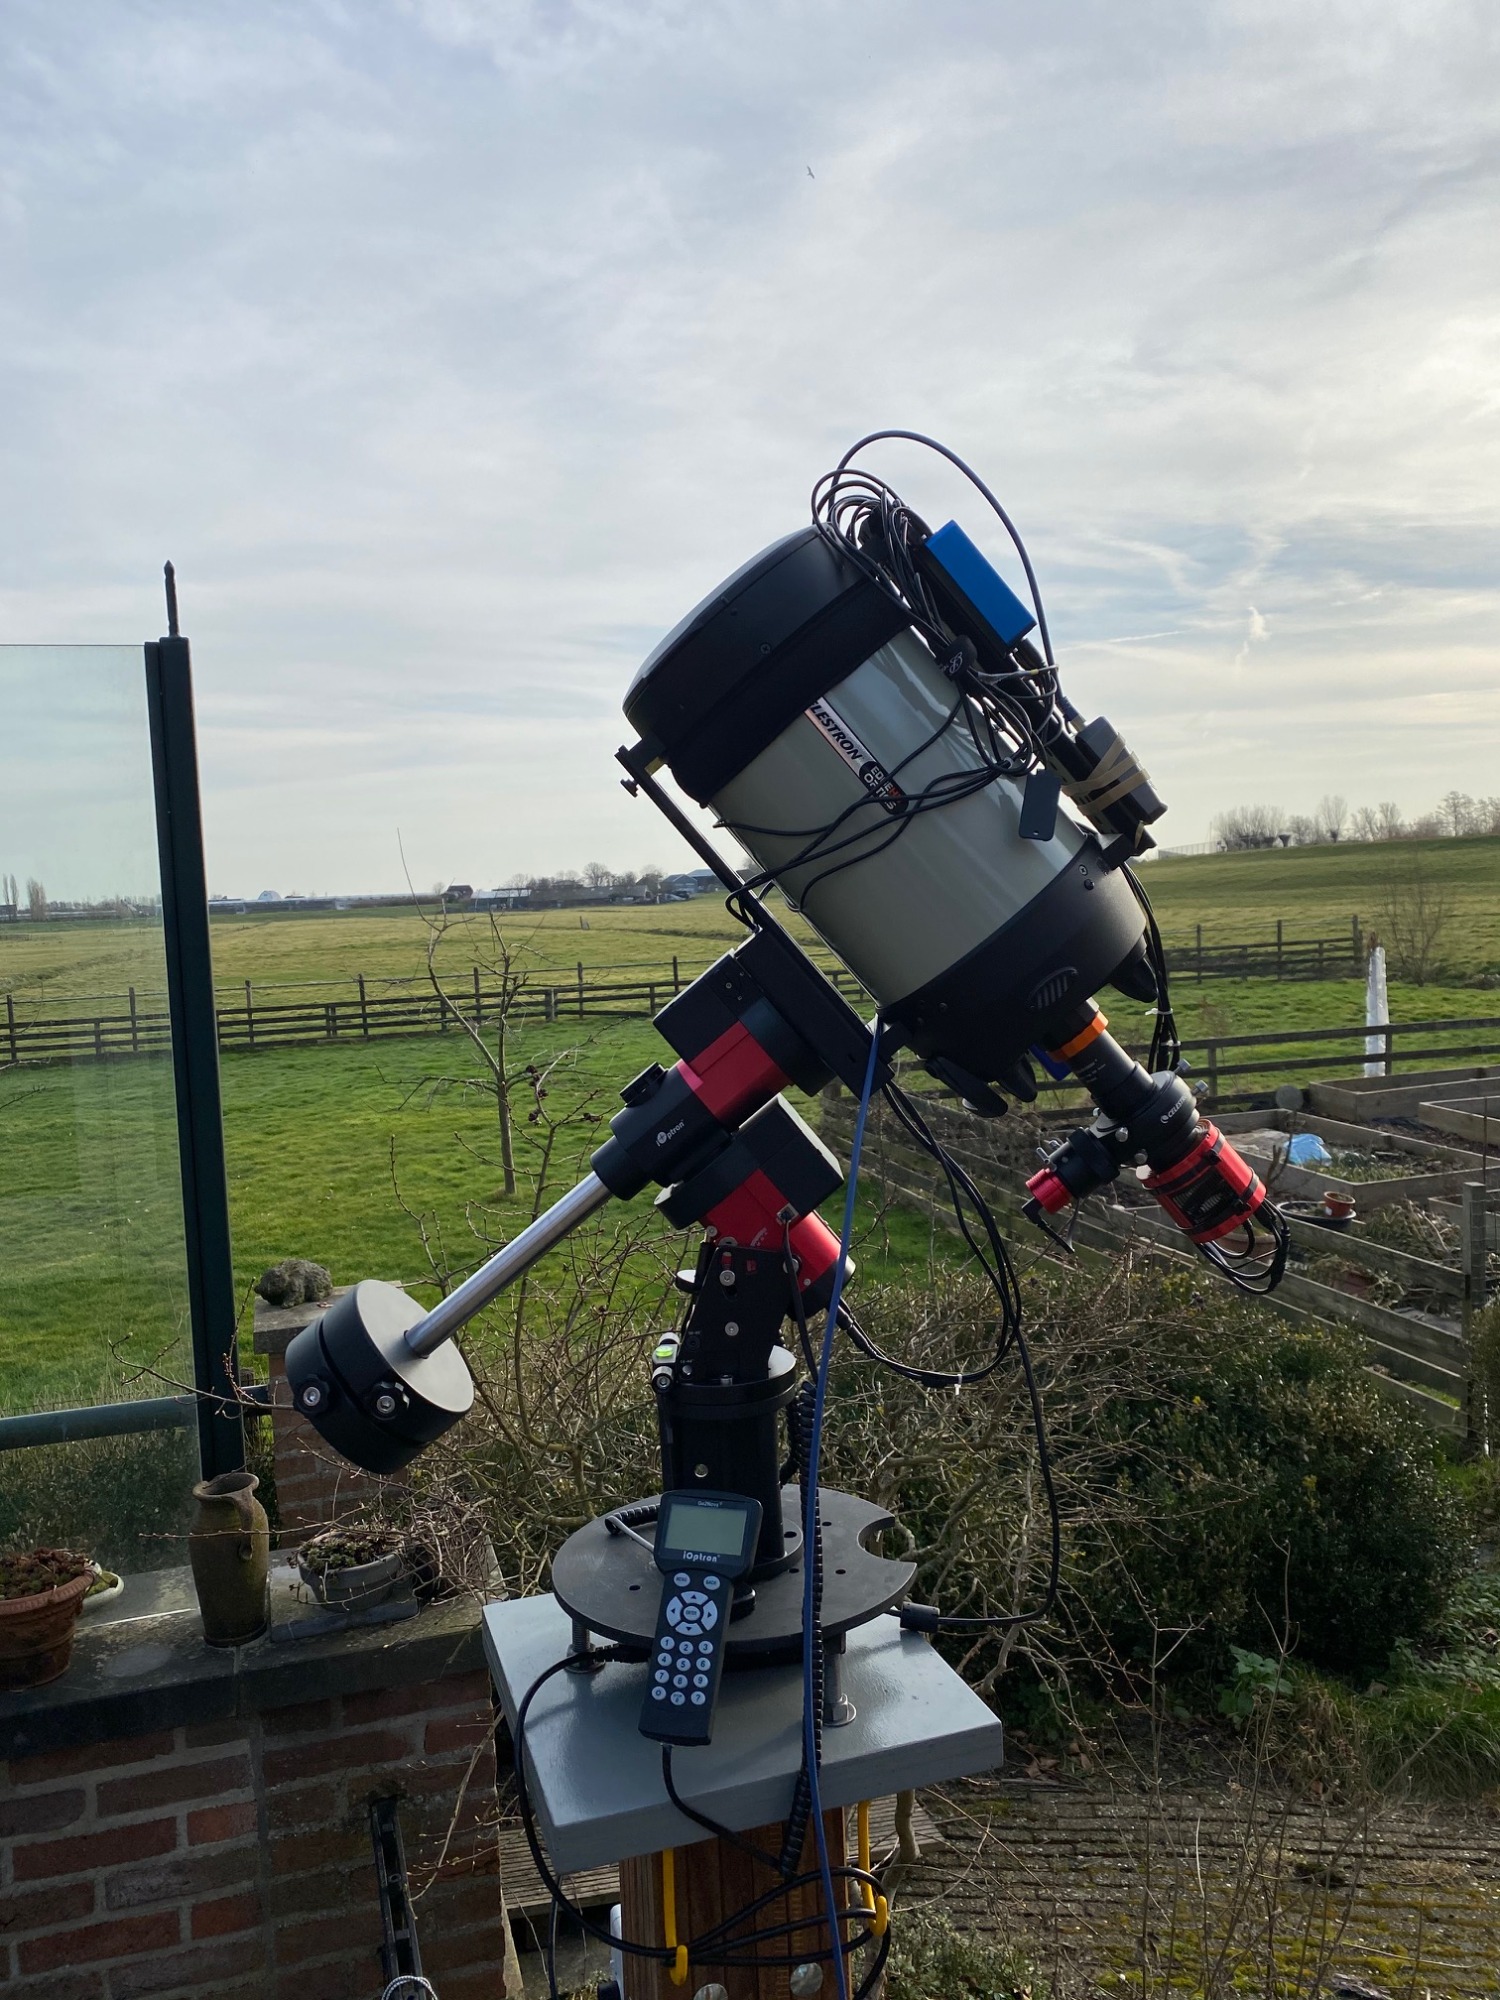
I have 3 cameras and a filter wheel (with a thin OAG) mounted on my 9.25" SCT on a CGEM mount. The main imaging camera is either my SBIG 8300M or my new ZWO ASI533 MC, I have an SX Lodestar on the OAG for guiding, and I have a ZAO ASI120MC on an Orion 9x50 scope as an e-finder. The e-finder is very convenient for plate-solving as it has a decent FOV. I am controlling the equipment with an RPI 4 running the Astroberry Server, this sits in a plastic box on the base of the cart (so it can be covered). I have a powered 7 port Anchor USB 3.0 hub to connect all the devices to the Rpi (it seems to be working well). The hub is mounted to one of the legs of the tripod and so my wires run fairly free from the leg up to the scope and then to the devices.
I run the Astroberry Server from a laptop in the garage (where it is warm and bugless!). But I do have an inexpensive Android Tablet at the scope for the tasks of focus and polar alignment. I need to see the camera output while at the scope for those tasks and the 7" tablet (with a VNC client )works well enough for that.
My next step is to make the Rpi bootable from an SSD, hopefully making the system even more responsive and have enough memory to collect images and movie clips.
thanks for looking,
Ron
Please Log in or Create an account to join the conversation.
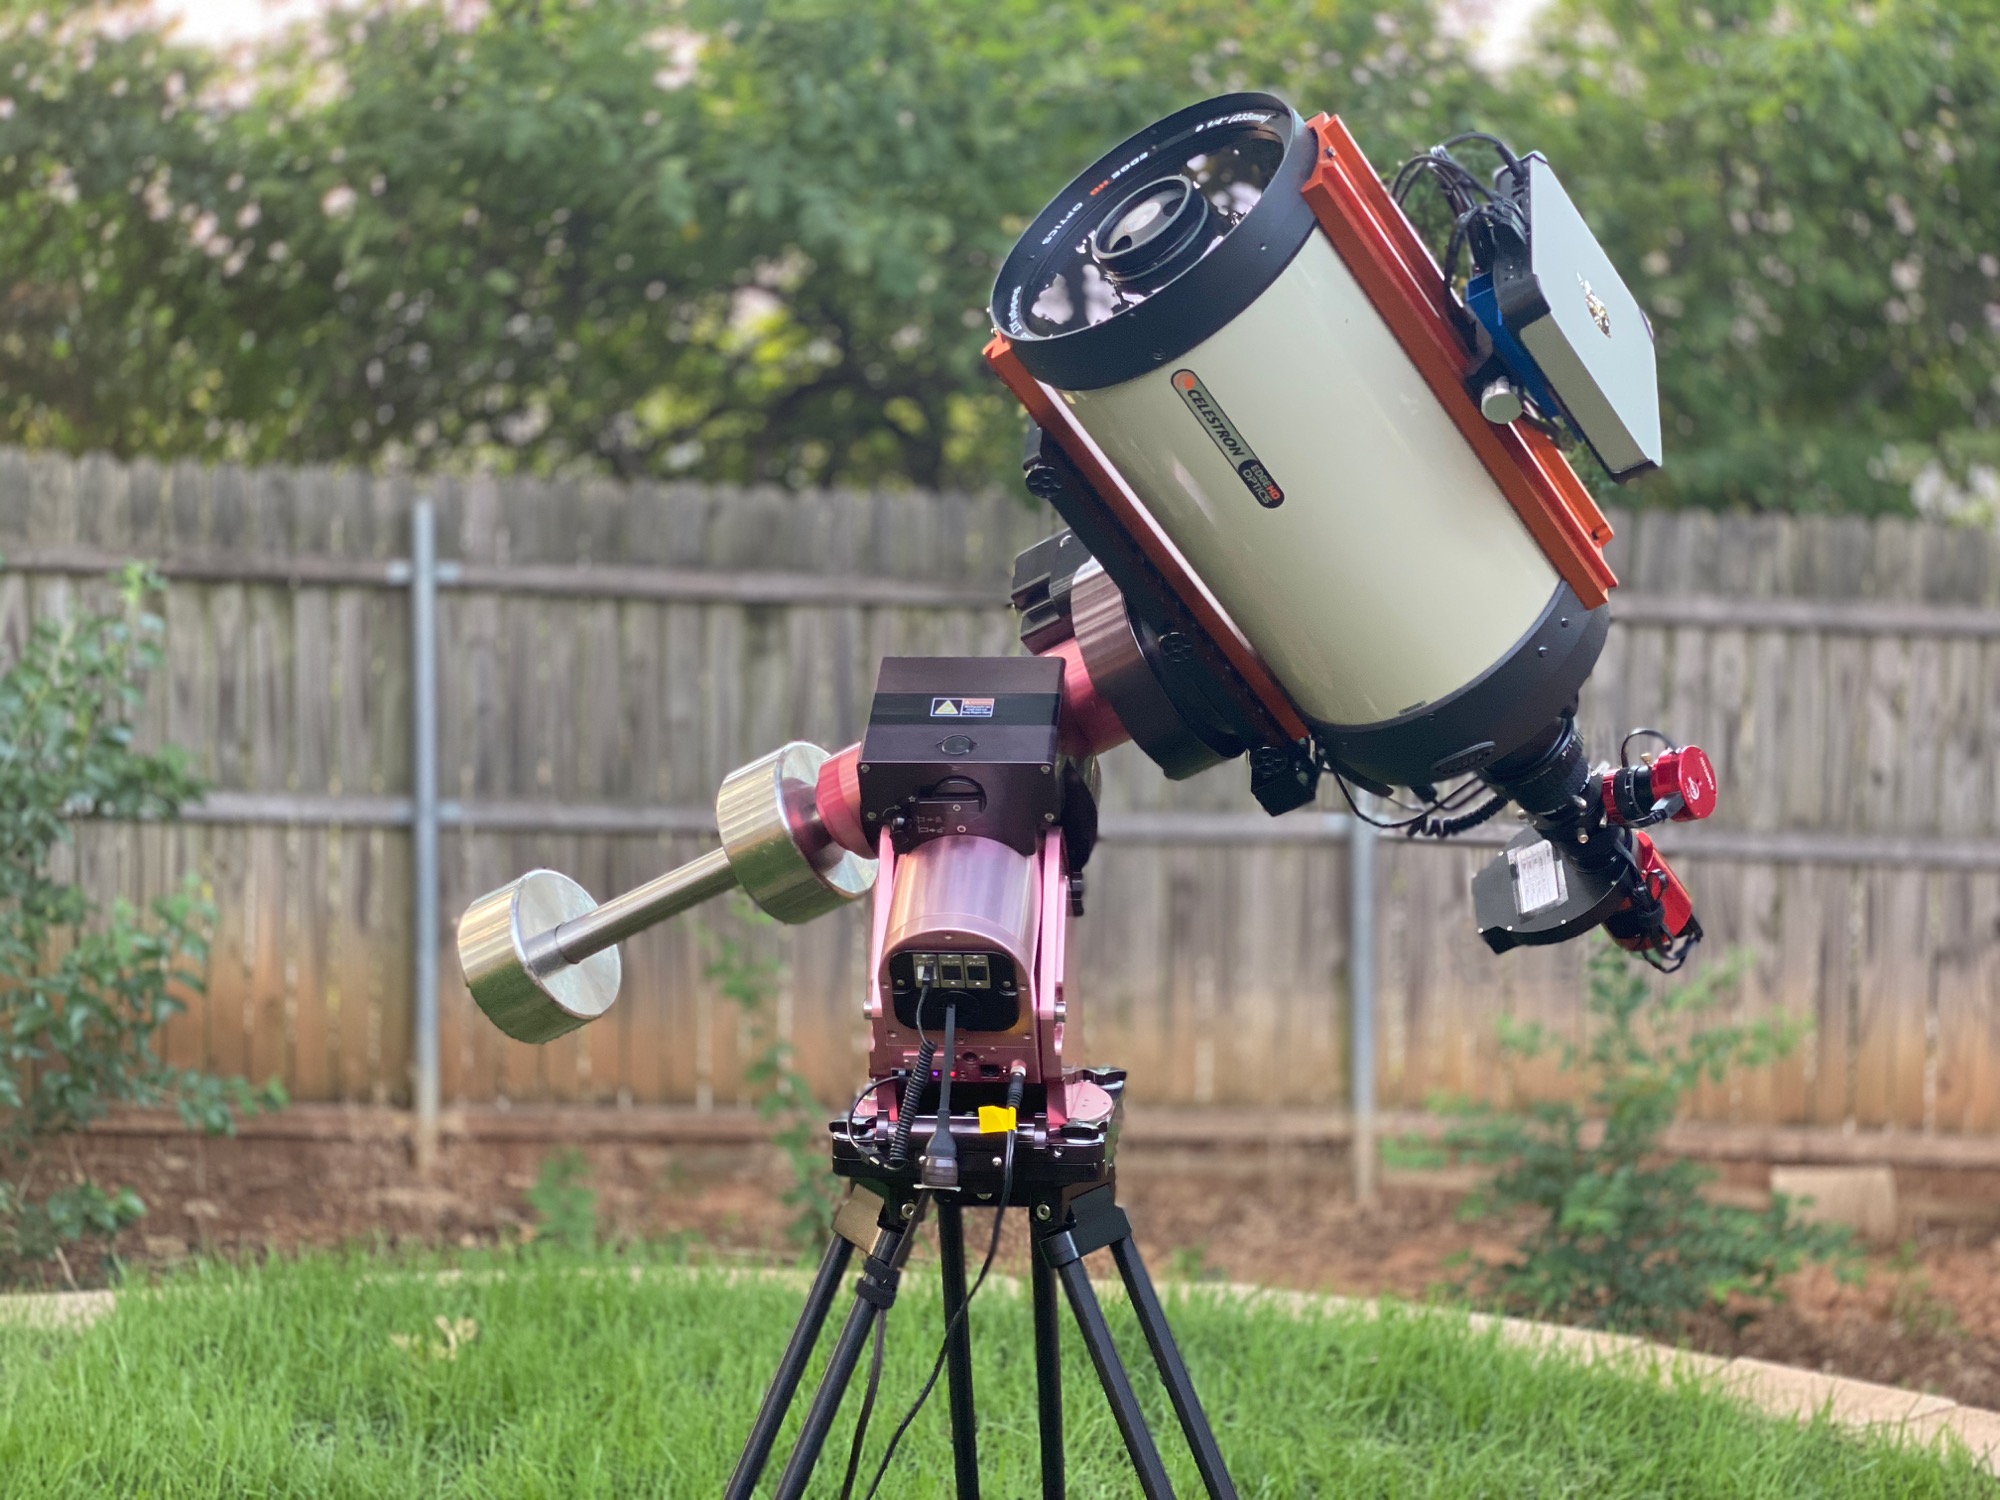
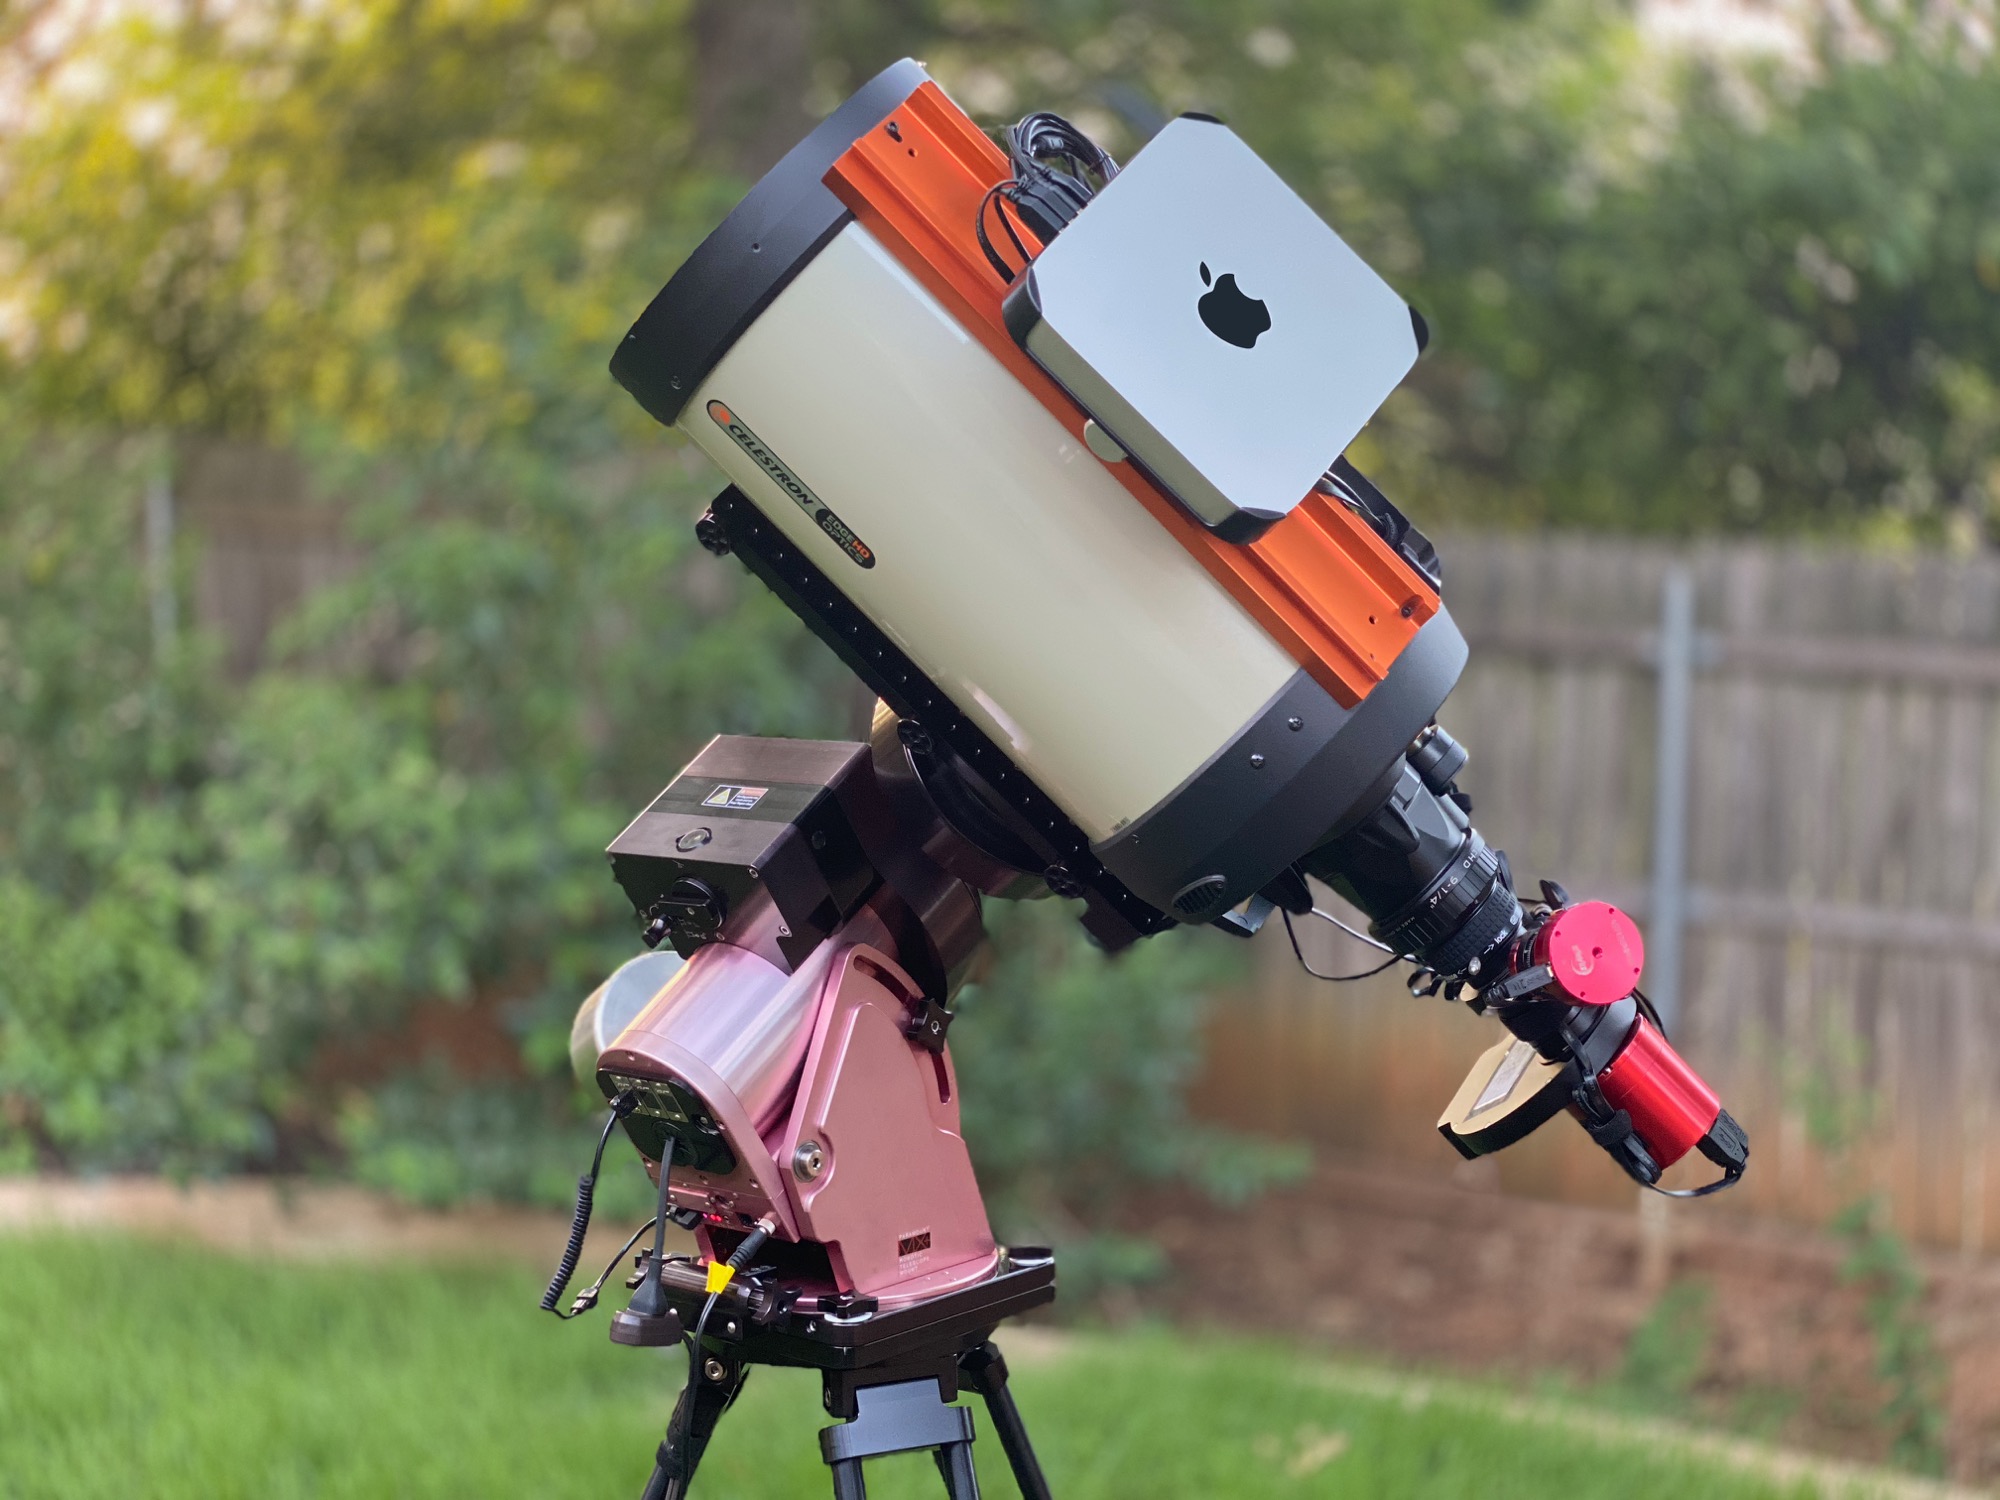
Replied by Mohamed on topic Post your INDI Setup!
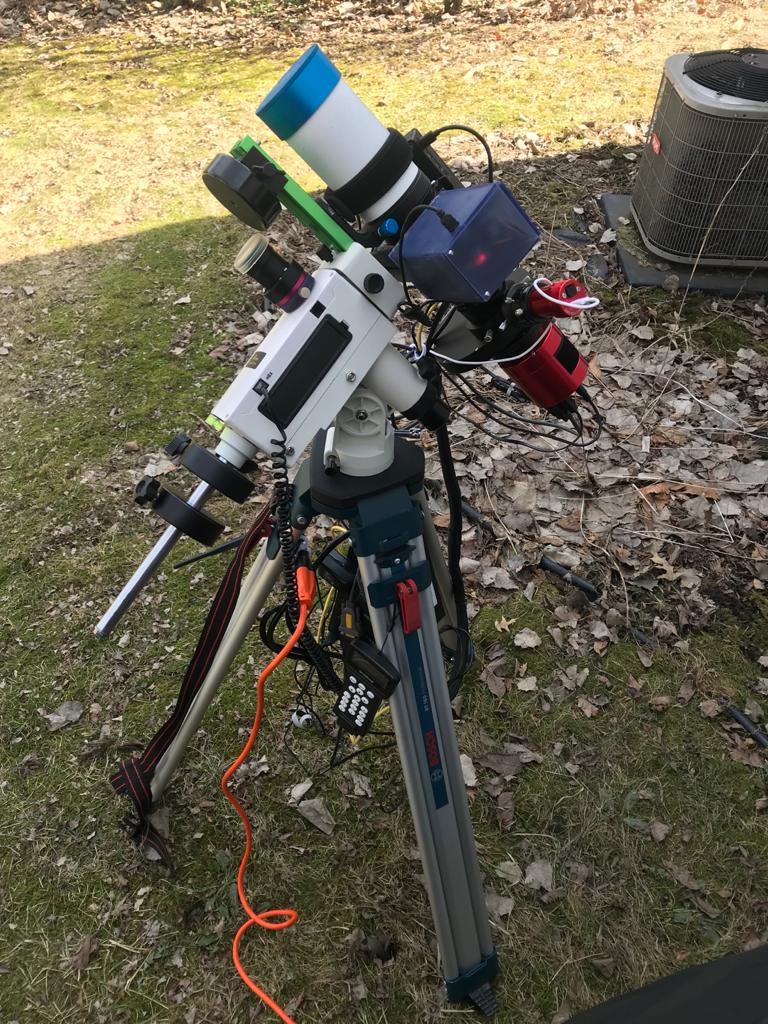
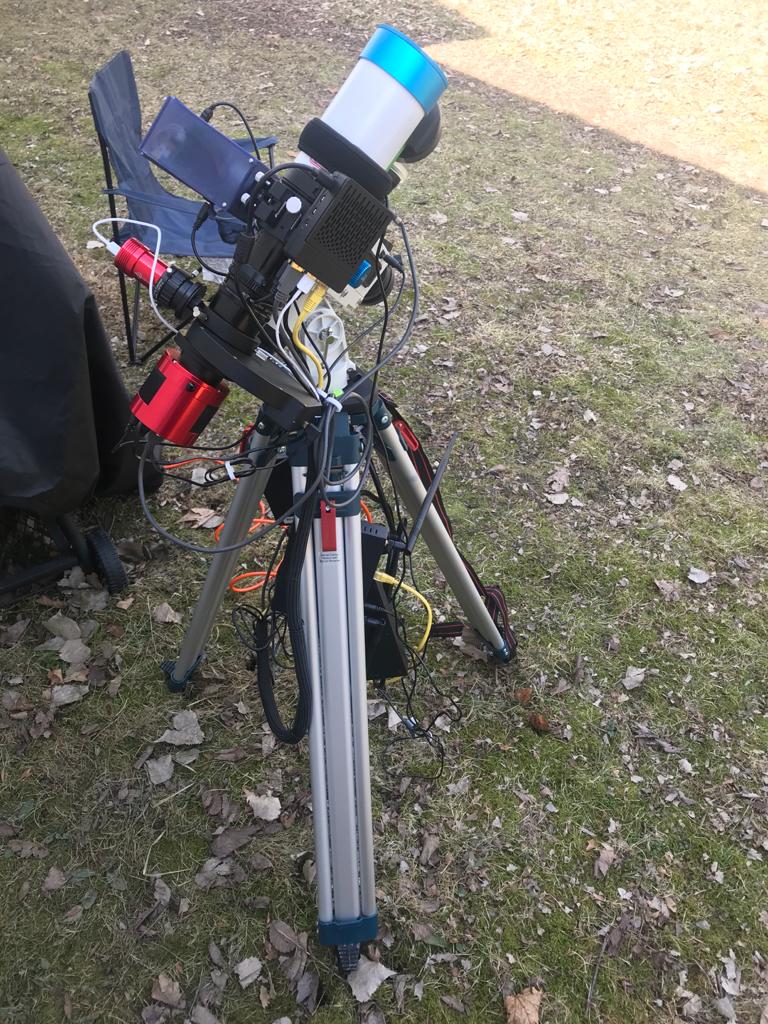
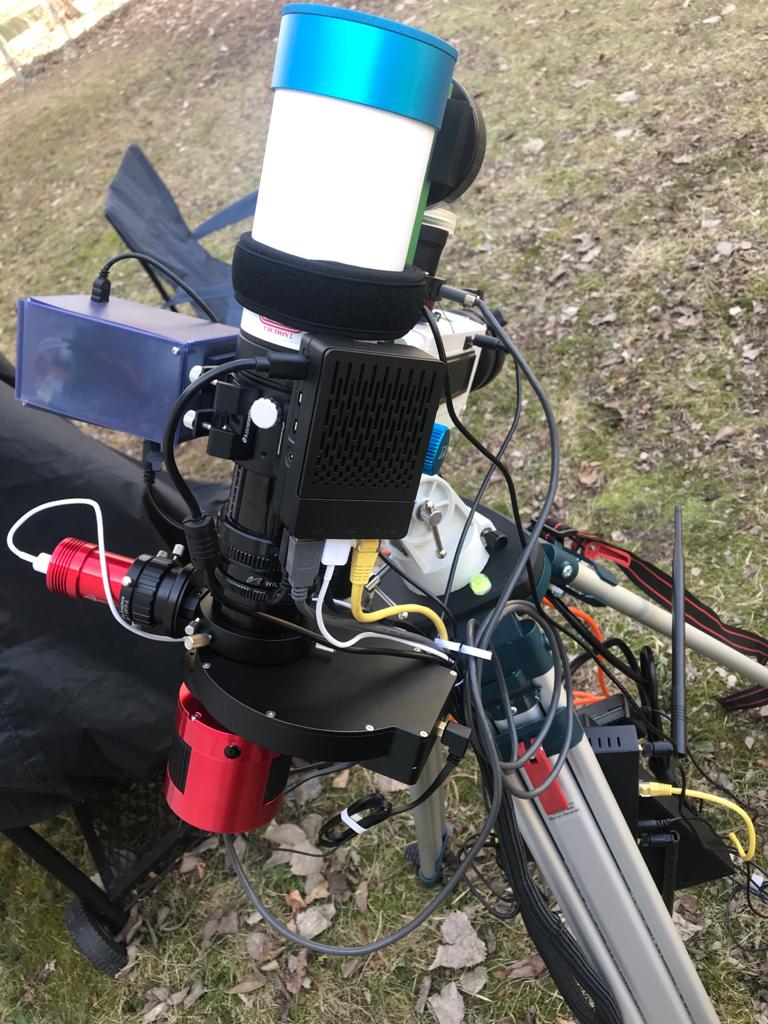
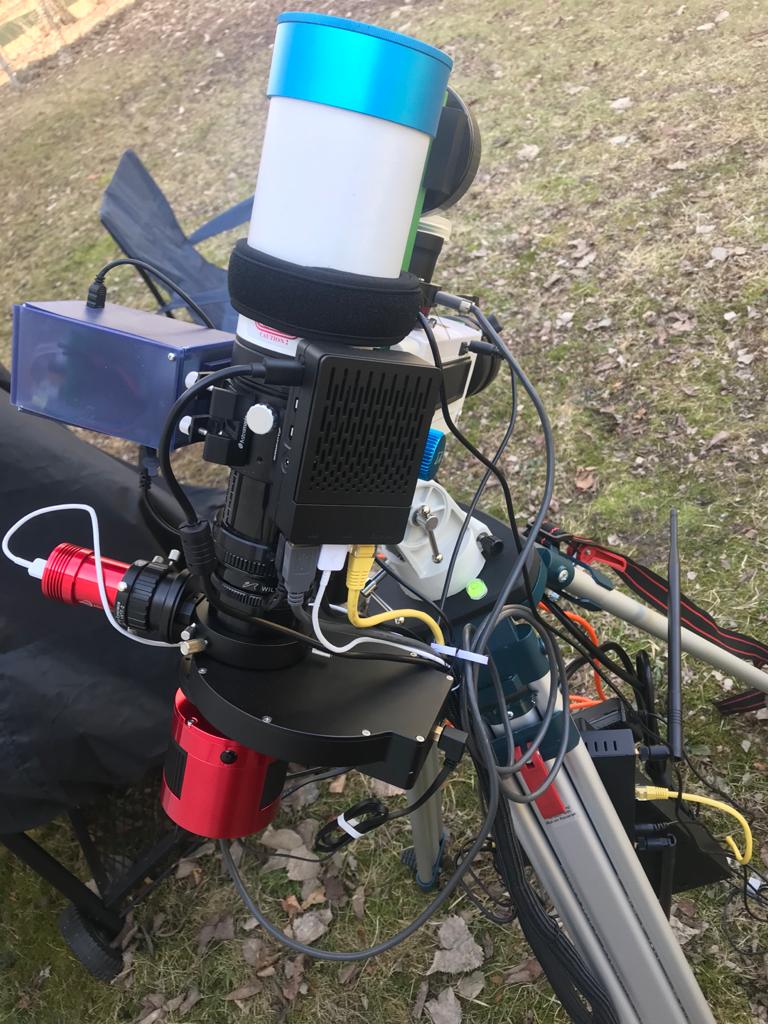
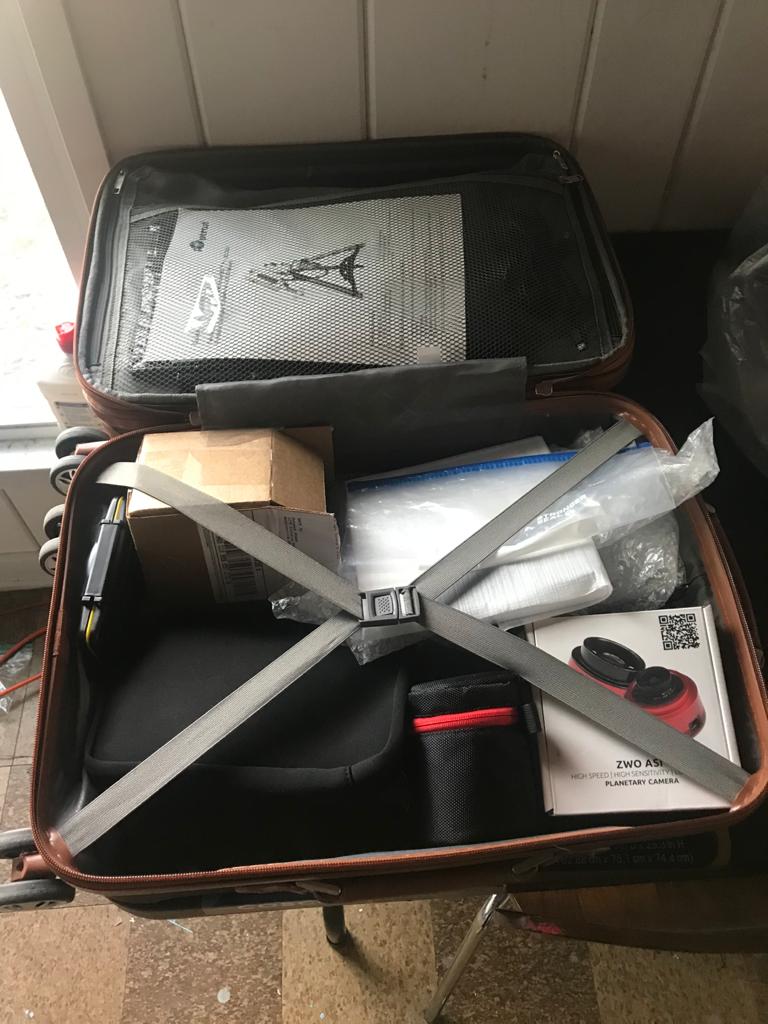
Wanted to share with you my latest PORTABLE setup, as I upgraded my C8 to C9.25, moving around with it and the HEQ5 makes me stress out. This setup includes the portable iOptron SmartEQ Pro, Williams Optics Z61, OAG, Filter wheel, and ASI183MM Pro cooled. Of course, it is totally controlled by Ekos/Indi through RPi 4. I was able to make this setup fits an airliner carry-on bag
PS: The mount tripod is custom made as I leave the original tripod in one location, and I use the other tripod in another location. Tripod is the only part that couldn't fit the carry-on bag specifications...
Attachments:
Please Log in or Create an account to join the conversation.
- christopher
-
- Offline
- Junior Member
-

- Posts: 32
- Thank you received: 5
Replied by christopher on topic Post your INDI Setup!

This is my new setup, focus was on no wire tangle, single 12v source and portable for holidays / night trips with a car.
Where i live in sunny (not) Sussex in England, we tend to have weather windows of 3 to 4 hrs.
So the telescope needs to be fast (f3.7) and setup / tear down needs to be quick as well.
(Take me about 30min to unpack setup and polar align and about 30min to capture flats and tear down.)
I run my entire setup off 12v and a NUC. I have a dedicated rugged thinkpad for client.
The NUC is powerful enough to run kstars and indi, for totally remote work, if needed.
iOptron GEM45 | Altair Pier
Mount and pier weigh in at 12kg, without the counterweights.
PEC and worm cycle of 400sec, very accurate guiding of 1.5
Can carry a imaging payload of up to 18kg, without counter weights
ASI 120MM | 30 x 150 Guide
Custom guide scope built into the mount head instead of iguider.
This custom setup can accurately guide up to about 1500 focal length.
TSPhoton 154 | TSComa .95 | F3.7
This fast light Newtonian, is great for short weather windows.
It weighs in at 5kg and is twice as fast as my 80ED.
ASI 294MM Pro | ASI EFW (LRGBHa) | ASI EAF
ASI all the way here, great combo that is really light.
This can capture 8k images at 2.35um or 4k images at 4.7um
What this means is i can effectively do wide field at home.
And deep field at remote locations. (Still to be tested.)
Mini PC | Quad 4GB 64GB 5G | Juice USB Harness
This little weather proof PC is actually my second one.
I started with a atom NUC, which was faster and used less juice.
However i trashed it by accident as they are not the most weather proof / power resistant.
My current one is actually built as a router, so it has exceptional wifi and power regulation.
It auto shutdown on power fluctuations.
iOptron GEM45 | Altair Mobile Pier | TSPhoton 154 @ F3.7
ASI 294MM Pro | ASI EFW | ASI EAF | ASI 120MM
Mini PC | Quad 4GB 64GB 5G | Juice USB Harness
Please Log in or Create an account to join the conversation.
- Jose Corazon
-
- Offline
- Supernova Explorer
-

- Posts: 1119
- Thank you received: 182
Replied by Jose Corazon on topic Post your INDI Setup!

Attachments:
Please Log in or Create an account to join the conversation.
- Rishi Garrod
-
- Offline
- Elite Member
-
- Posts: 245
- Thank you received: 56
Replied by Rishi Garrod on topic Post your INDI Setup!
Gem 45
Edge 8HD
ZWO 294MC
ZWO 174MM Mini guide cam for Celestron OAG
Pegagus Ultimate PowerBox
RPi 4 with Stellarmate
Pegagsus Focus cube.
Dew Strips plus a heated dew shield when imaging.
Apple Airport express
All power from a single power supply providing power to the Ultimate PowerBox.
The RPi has a wired connection to an Airport Express.
I now run Kstars/ EKOS and Indi on the RPi.
I can remove the losmandy plate on top of the scope and put it on my Esprit 100.
Attachments:
Please Log in or Create an account to join the conversation.