INDI Library v2.0.7 is Released (01 Apr 2024)
Bi-monthly release with minor bug fixes and improvements
Building the induino MeteoStation with 3d printed housing
- Jasem Mutlaq
-
- Away
- Administrator
-

Replied by Jasem Mutlaq on topic Building the induino MeteoStation with 3d printed housing
Please Log in or Create an account to join the conversation.
Replied by Magnus on topic Building the induino MeteoStation with 3d printed housing
I wil have to wait for the sensors to arrive first. (10 - 35 days from China). Just in case I have to change anything to make the sensors work.
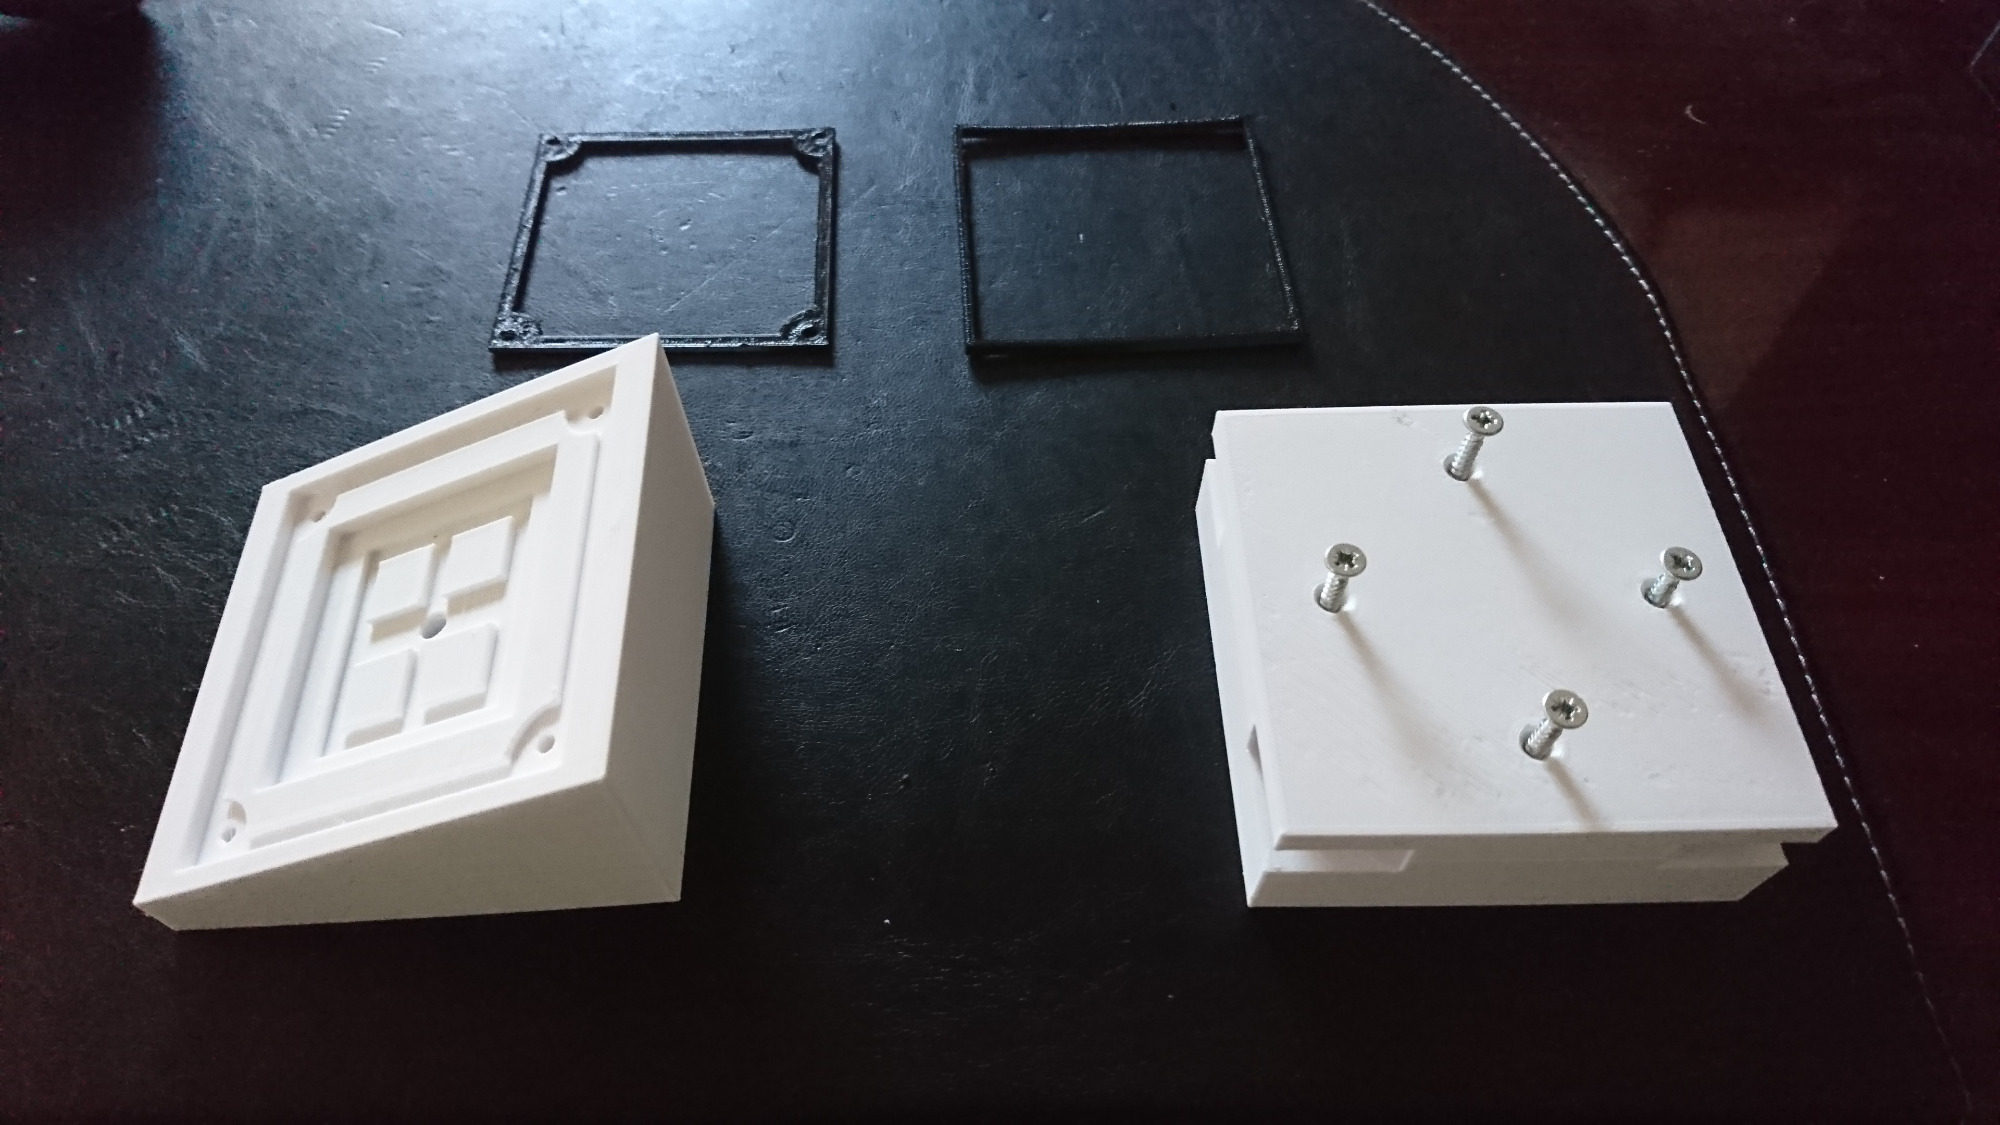
I wil post the printed body in about 4 hours. I have printed the bottom and middle, and the top is 50% done.
I wisited my 3d printing store and got a 10meter sample of TPU that I will try to print the newly designed gaskets in.
Hopefully it will work, but TPU is listed as 'Expert' in the dificulty level, so no guaranties
")
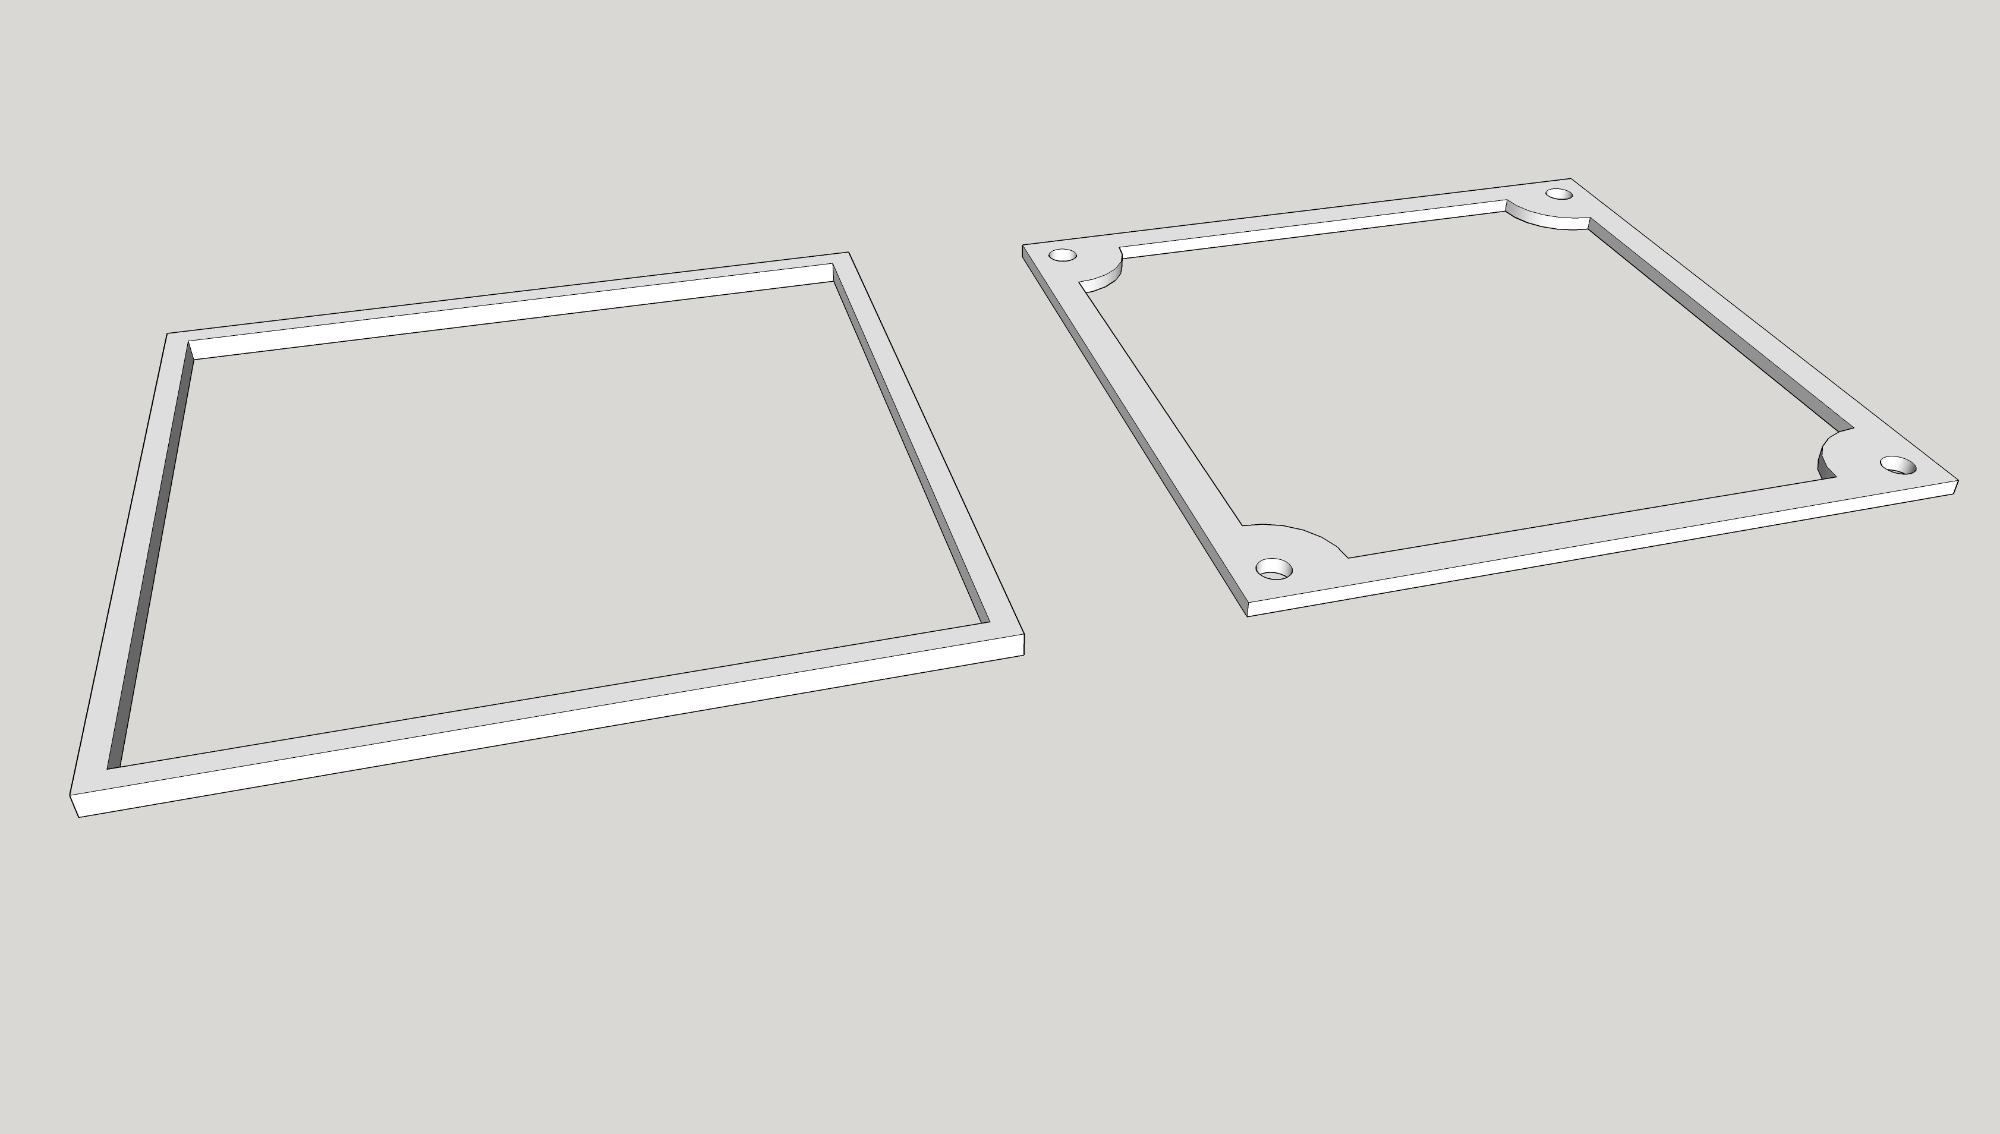
Heres the drawings of the gaskets for now.
Not a hwole lot to look at, but I made the area a little smaller than the slots they go into, and made them one layerline taller so they will get squshed and water proof when everything is screwed together (hopefully).
Website: Observatory 17b
Build thread @ SGL: Starting summers observatory project
Please Log in or Create an account to join the conversation.
Replied by Magnus on topic Building the induino MeteoStation with 3d printed housing
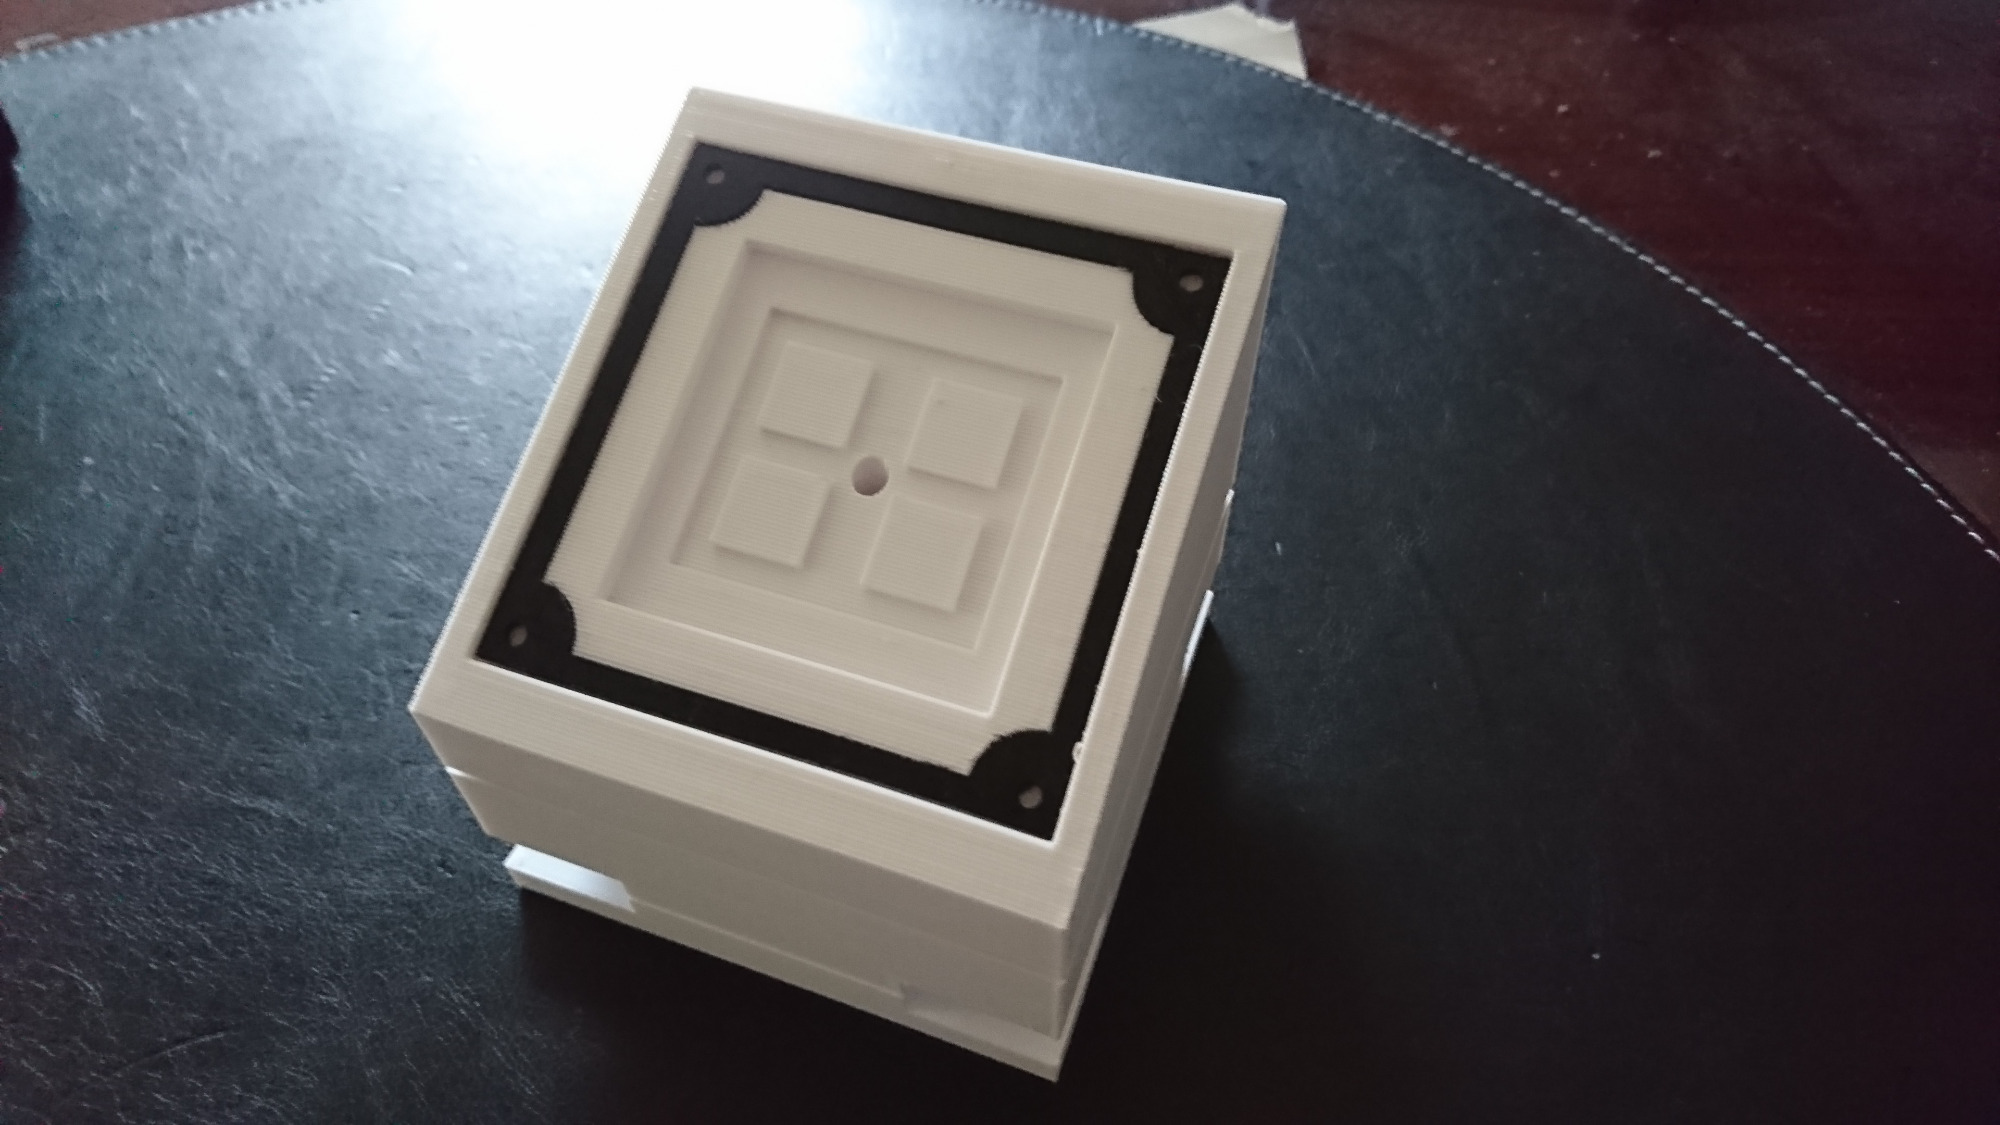
I took some assembly pictures for pending howto. Just have to get the electronics.
The small gasket was also one mm to thick, so will fix that.


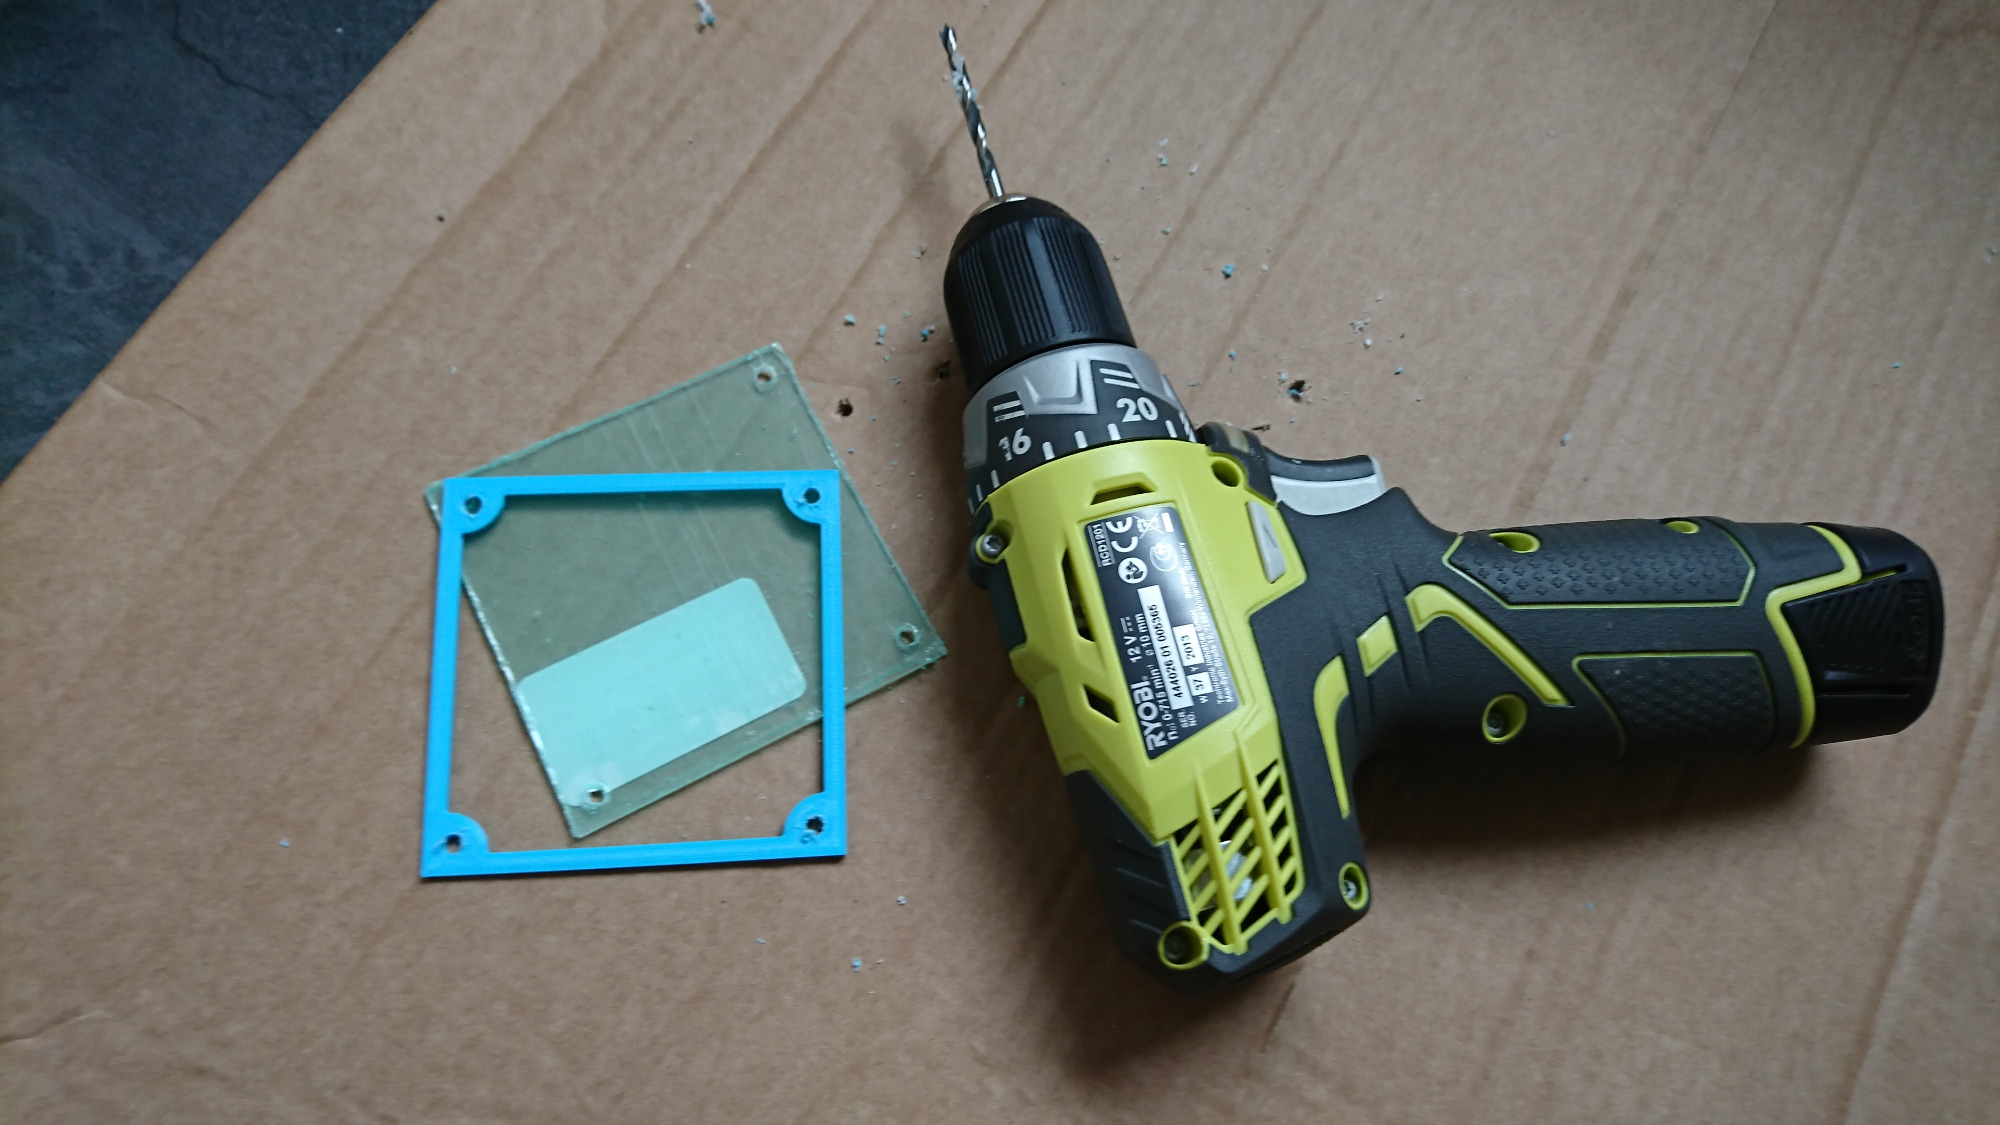
I got some 2mm acrylic glass, so I'll try cutting that tomorrow.
Website: Observatory 17b
Build thread @ SGL: Starting summers observatory project
Please Log in or Create an account to join the conversation.
- Gonzothegreat
-

- Offline
- Moderator
-

- Posts: 2255
- Thank you received: 223
Replied by Gonzothegreat on topic Building the induino MeteoStation with 3d printed housing
Please Log in or Create an account to join the conversation.
Replied by Magnus on topic Building the induino MeteoStation with 3d printed housing
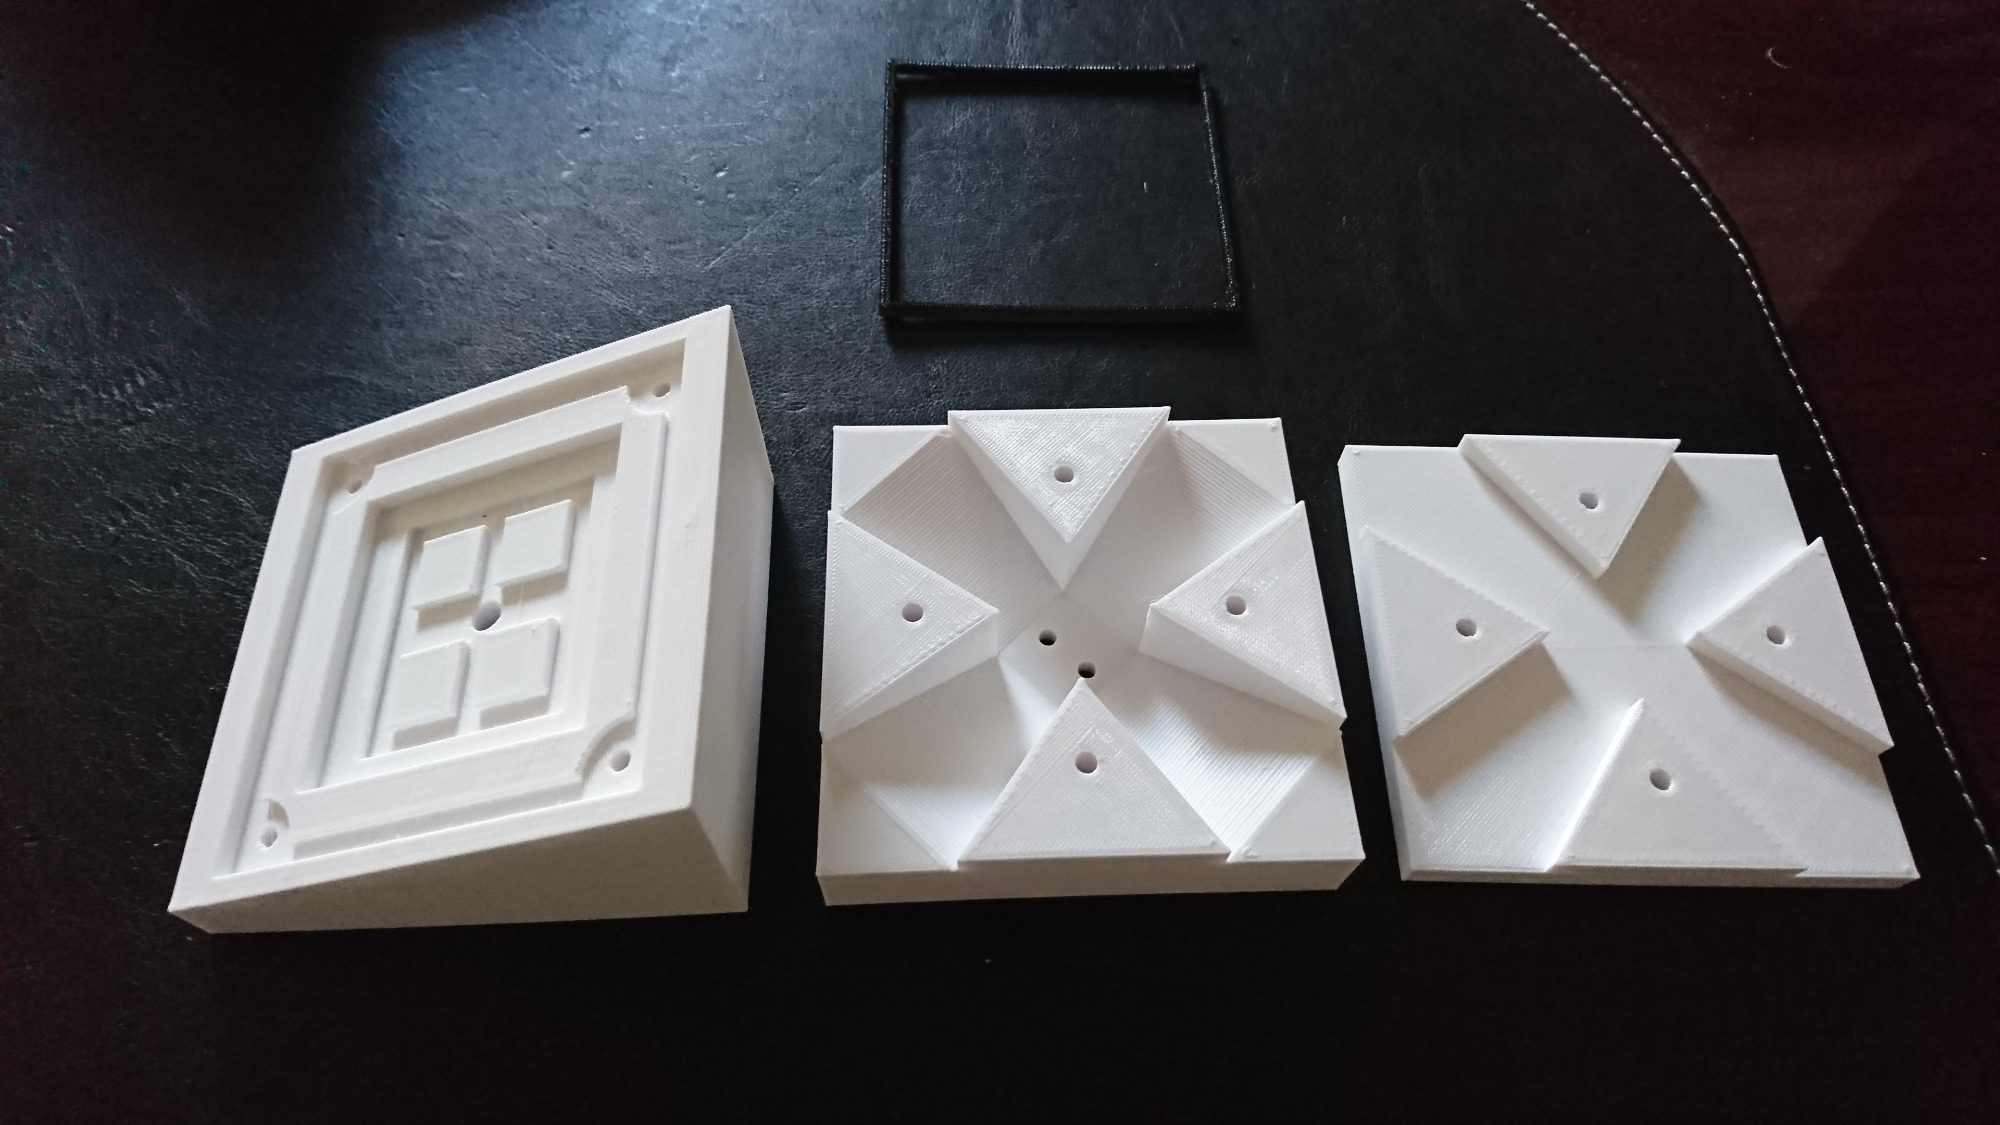
3d printin can be wery neat if the limitations have been considured when designing the part.
This print is actually printed at 0,3mm layer height, witch is about the lowest 'resolution' recomended for a printer with a 0,4mm nozzle.
It could be even smoother at 0,1 mm layers, but would take much longer to print.
Website: Observatory 17b
Build thread @ SGL: Starting summers observatory project
Please Log in or Create an account to join the conversation.
Replied by Magnus on topic Building the induino MeteoStation with 3d printed housing
I printed the top gasket in PLA (hard material) to use as a cutting / drilling template, so getting the holes right was easy.
I have also sourced a solar cell from a led light that I was not using. I'll have to check it at midday when it's not clouded to see that it does not generate to hig current. It registered 1.5v under a bright light, so I'm thinking it will be ok.
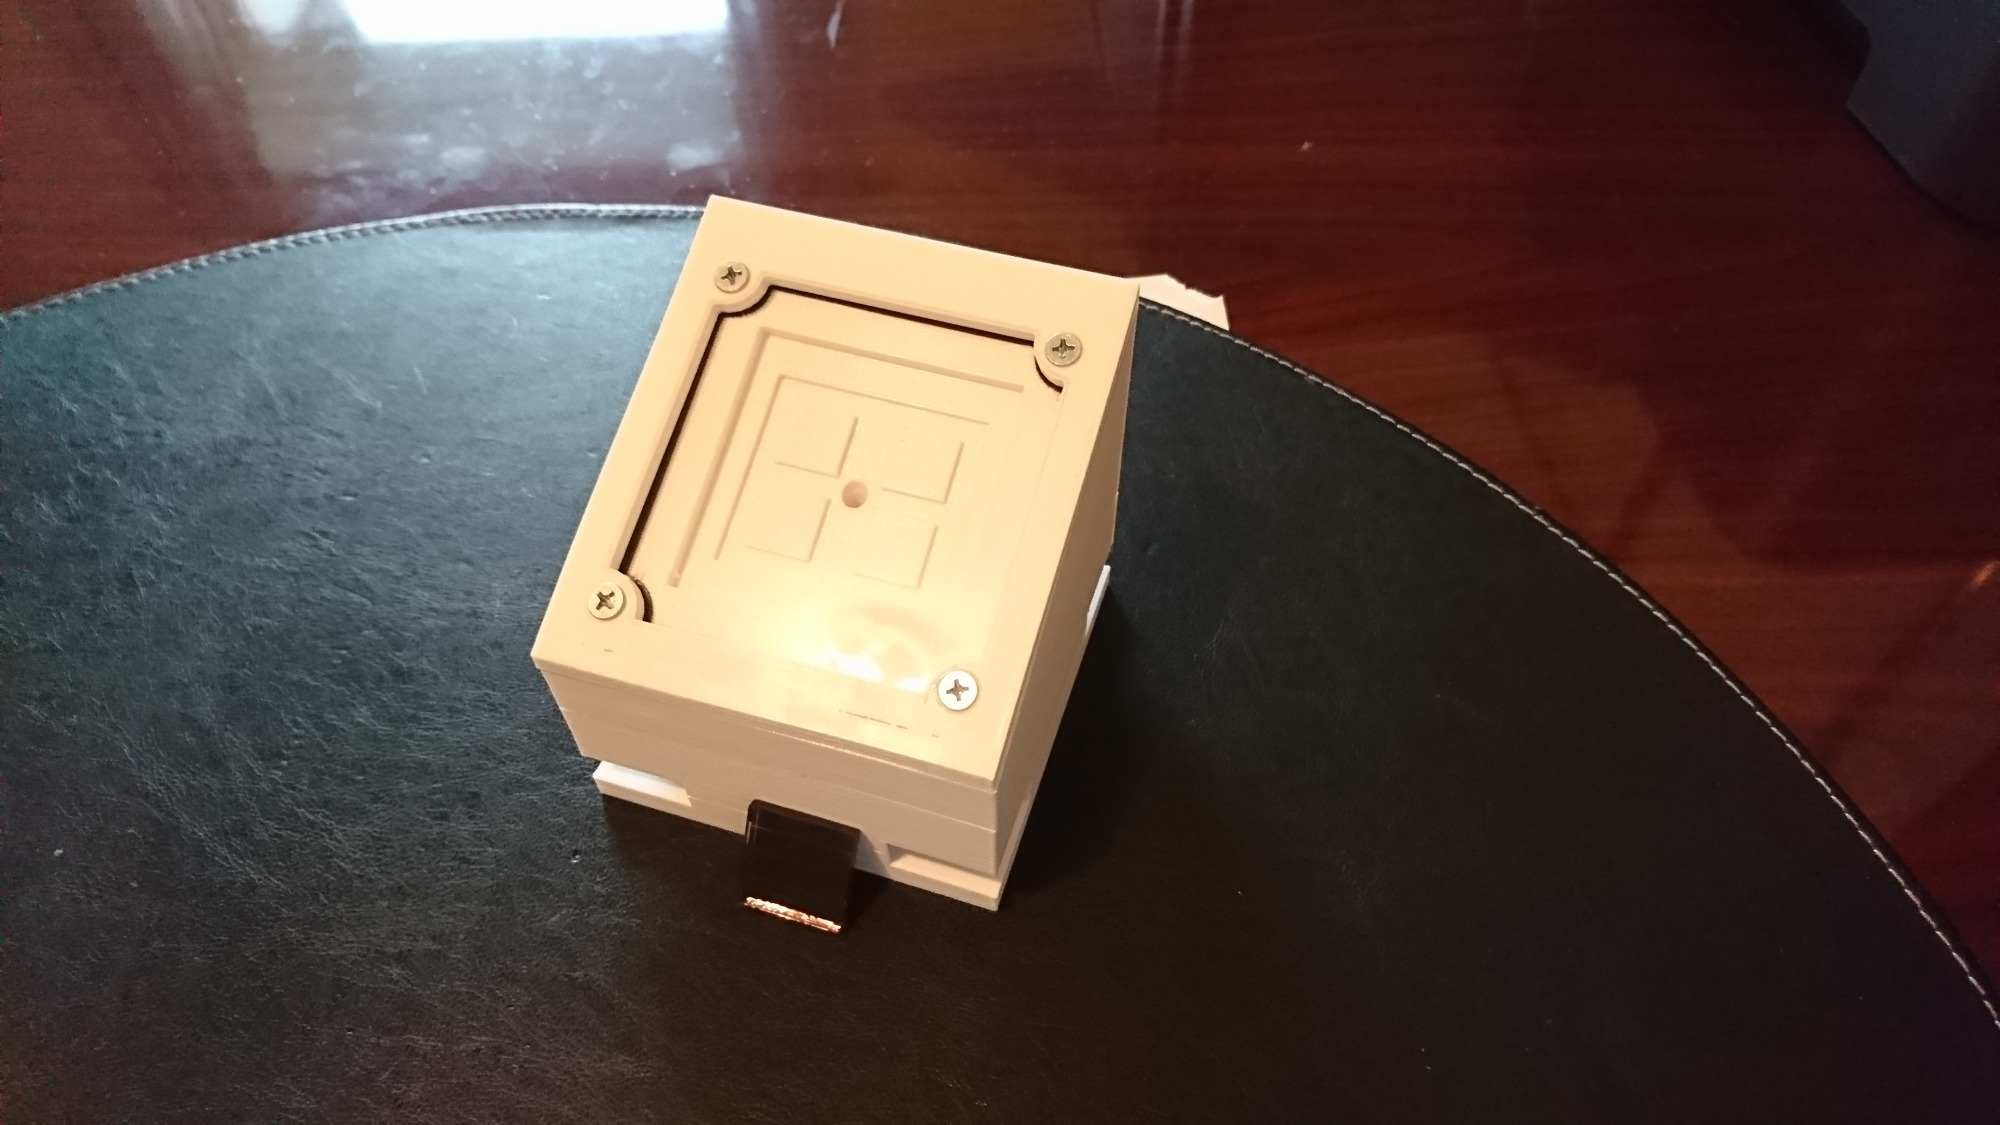
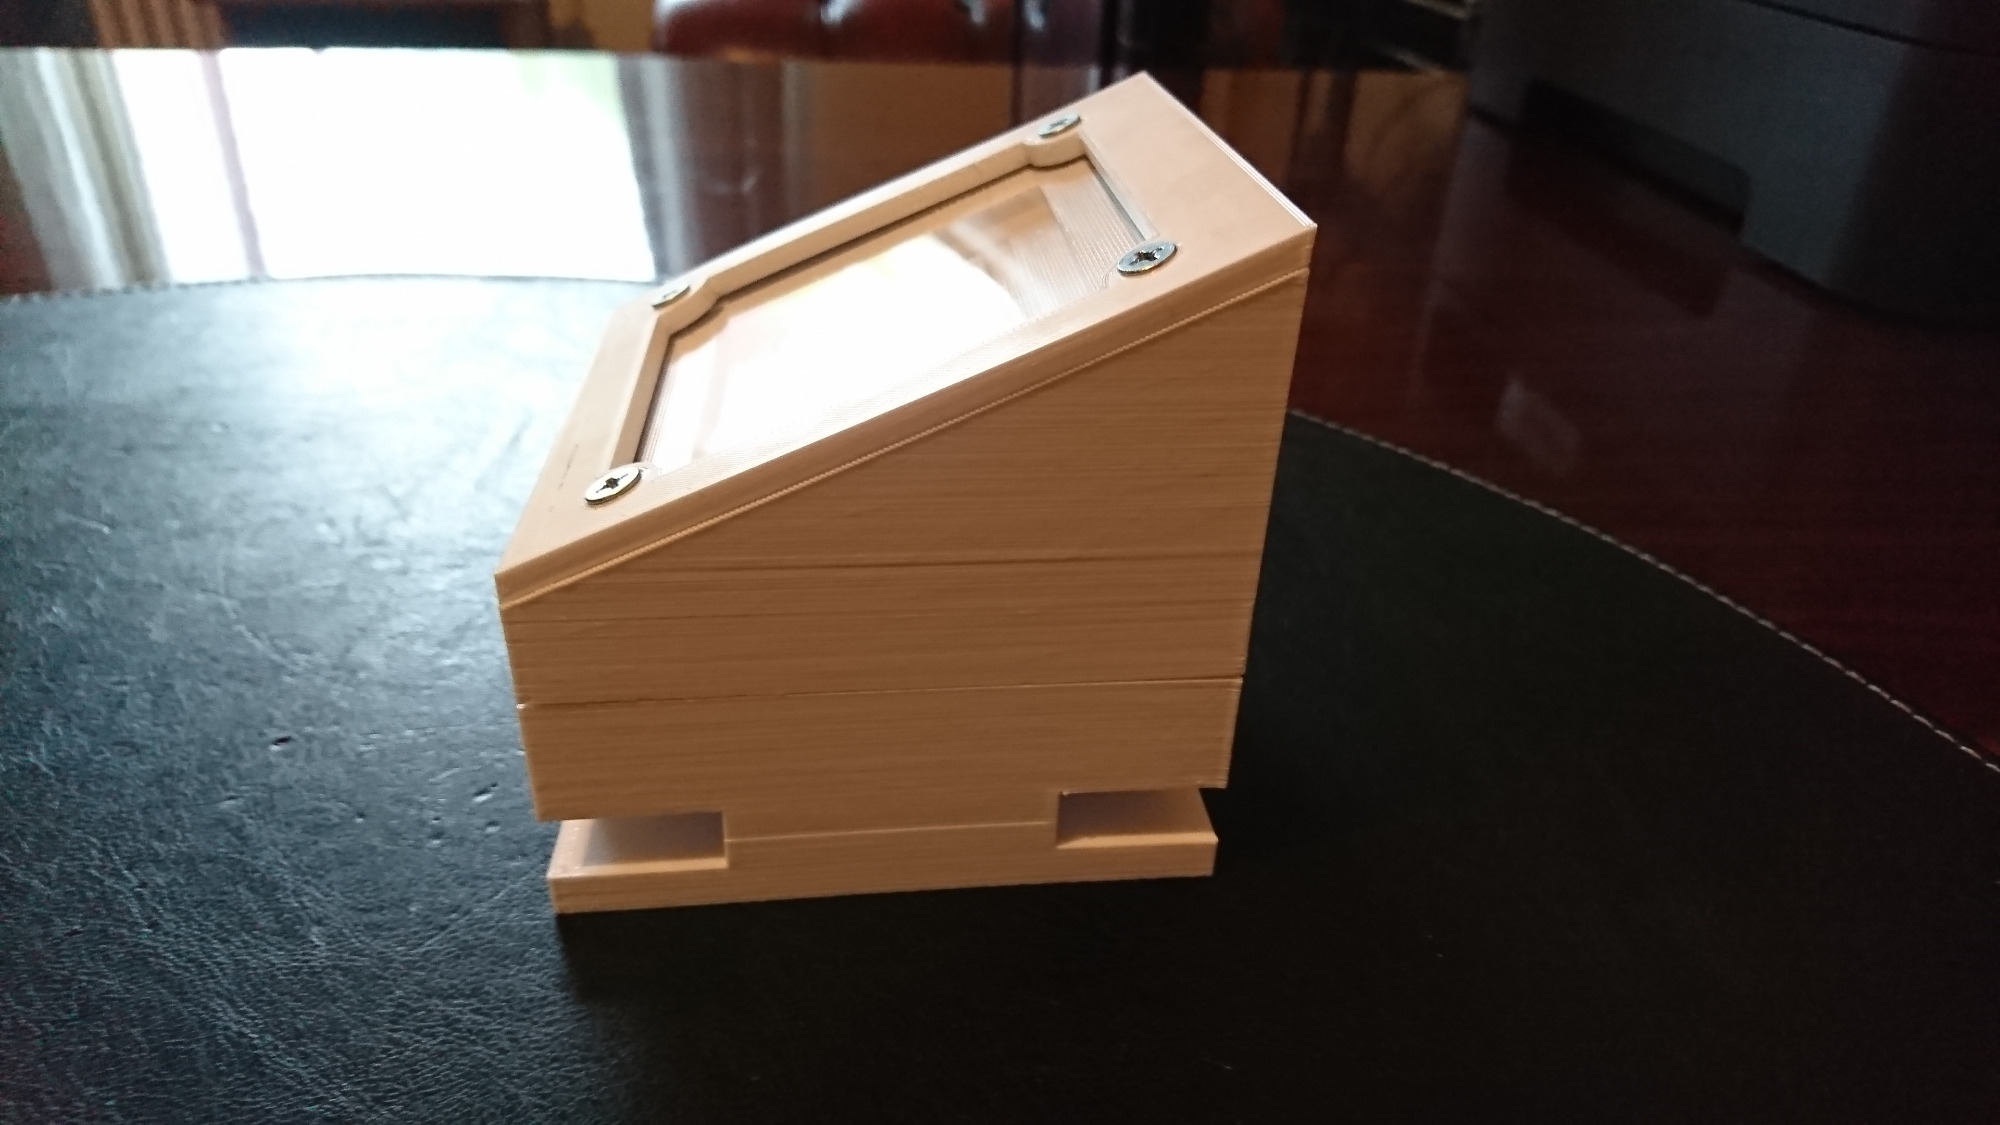
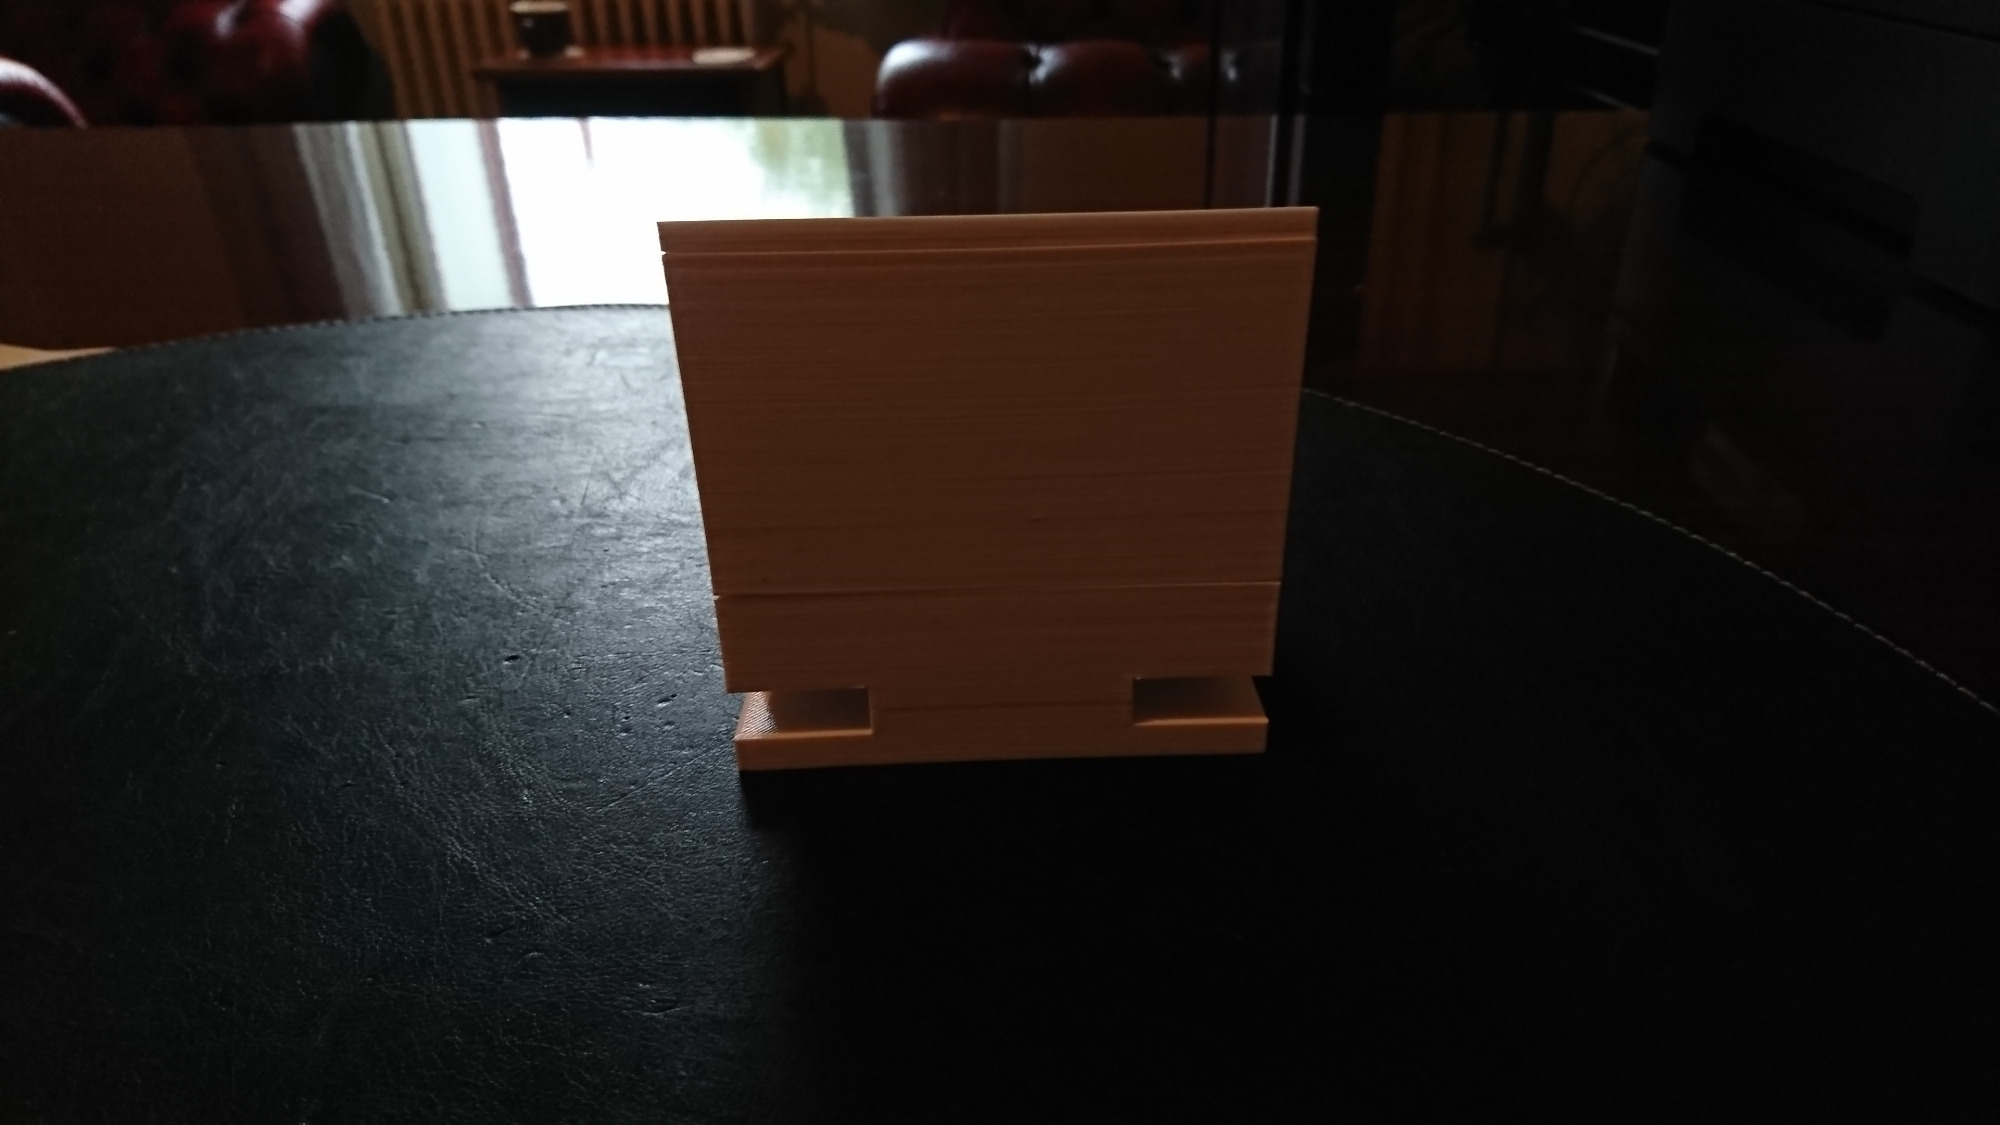
Pictures of the complete box. Whit the new 'frame' on top it's now 10^3cm

Website: Observatory 17b
Build thread @ SGL: Starting summers observatory project
Please Log in or Create an account to join the conversation.
- Gonzothegreat
-
- Offline
- Moderator
-
- Posts: 2255
- Thank you received: 223
Replied by Gonzothegreat on topic Building the induino MeteoStation with 3d printed housing
Please Log in or Create an account to join the conversation.
Replied by Magnus on topic Building the induino MeteoStation with 3d printed housing
It all depends on shipping times.
I ordered all the sensors from ebay, and they all had 10 - 35 days shipping.
I have been supprized sometimes when ordering things from China and got the items closer to the 10th than the 30th day.
I will order the arduino and the wifi module, so I can set everything up and be ready to install sensors.
Btw. Does the indi driver for indoino meteostation connect to the arduino ower the network, or does it need to be connected in some other way?
I also tested the solar cell in cloud free daylight ~17:00 pointed at the sun. It was producing around 2.5v, so I think I can connect it directly to the arduino without any resistor to split the voltage.
Website: Observatory 17b
Build thread @ SGL: Starting summers observatory project
Please Log in or Create an account to join the conversation.
- Gonzothegreat
-
- Offline
- Moderator
-
- Posts: 2255
- Thank you received: 223
Replied by Gonzothegreat on topic Building the induino MeteoStation with 3d printed housing
Please Log in or Create an account to join the conversation.

Replied by Rob Jones on topic Building the induino MeteoStation with 3d printed housing
If you are happy to share your STL files for the £D printer design, i'm very temped to have a go myself.
Please Log in or Create an account to join the conversation.
Replied by Magnus on topic Building the induino MeteoStation with 3d printed housing
Thanks, I've uploaded it to my profile on thingiverse www.thingiverse.com/thing:2371144
Feel free to comment if you have any issues printing it.
I also edited it slightly since the last post. A hole big enough for a micro usb cable is now added. (I think I'll just drill one in mine as it's allready printed, but it should be a nice addition
) Website: Observatory 17b
Build thread @ SGL: Starting summers observatory project
Please Log in or Create an account to join the conversation.
Replied by Magnus on topic Building the induino MeteoStation with 3d printed housing
Final shopping list:
- 2mm tich acryllic glass www.clasohlson.com/no/Akrylplast/Pr341360000
- Roll of PETG printer filament
- Adafruit pro trinket www.kjell.com/no/produkter/elektro-og-ve...tviklingskort-p87968
- Serial to USB www.kjell.com/no/produkter/elektro-og-ve...b-til-seriell-p87898
- Solar cell lamp www.clasohlson.com/no/Solcellelampe-3-pack/36-6488-2
- BMP 180 Barometric Pressure sensor ebay id : 201414876396
- DHT22 AM2303 Temp / Humidity sensor ebay id: 171907229178
- MLX90614ESF-BAA IR temp sensor ebay id: 191869849584
I have to get the Usb to serial adapter tomorrow, but the rest is in house.
Compiling and uploading the firmware to the Arduino was a breeze. I did not initially realize that all the code for the induino was in the INDI driver and all the arduino does is allowing a host computer to control the IO with the firmata protocol.
The Adafruit pro trinket does not support serial commands over the usb port, so that's why I need the dongle.
Last thing that is puzzling me is that the same pin is used for the output from both the BMP085 (185) and the IR sensor? Is this correct or just to show that both should be connected to analogue input on the arduino?
See blue and purple wires on this schematics

I feel my electronics skills is lacking a bit here. It's not like the output from one goes into the other and is altered, and the outputs are in paralell, so not like they will combine, and output higher amplitude. Looks like the sensor with the strongest output will be the resulting analogue signal?
Website: Observatory 17b
Build thread @ SGL: Starting summers observatory project
Please Log in or Create an account to join the conversation.