INDI Library v2.0.7 is Released (01 Apr 2024)
Bi-monthly release with minor bug fixes and improvements
Feathertouch and Pegasus Focus Cube 2

Feathertouch and Pegasus Focus Cube 2 was created by Jim S.
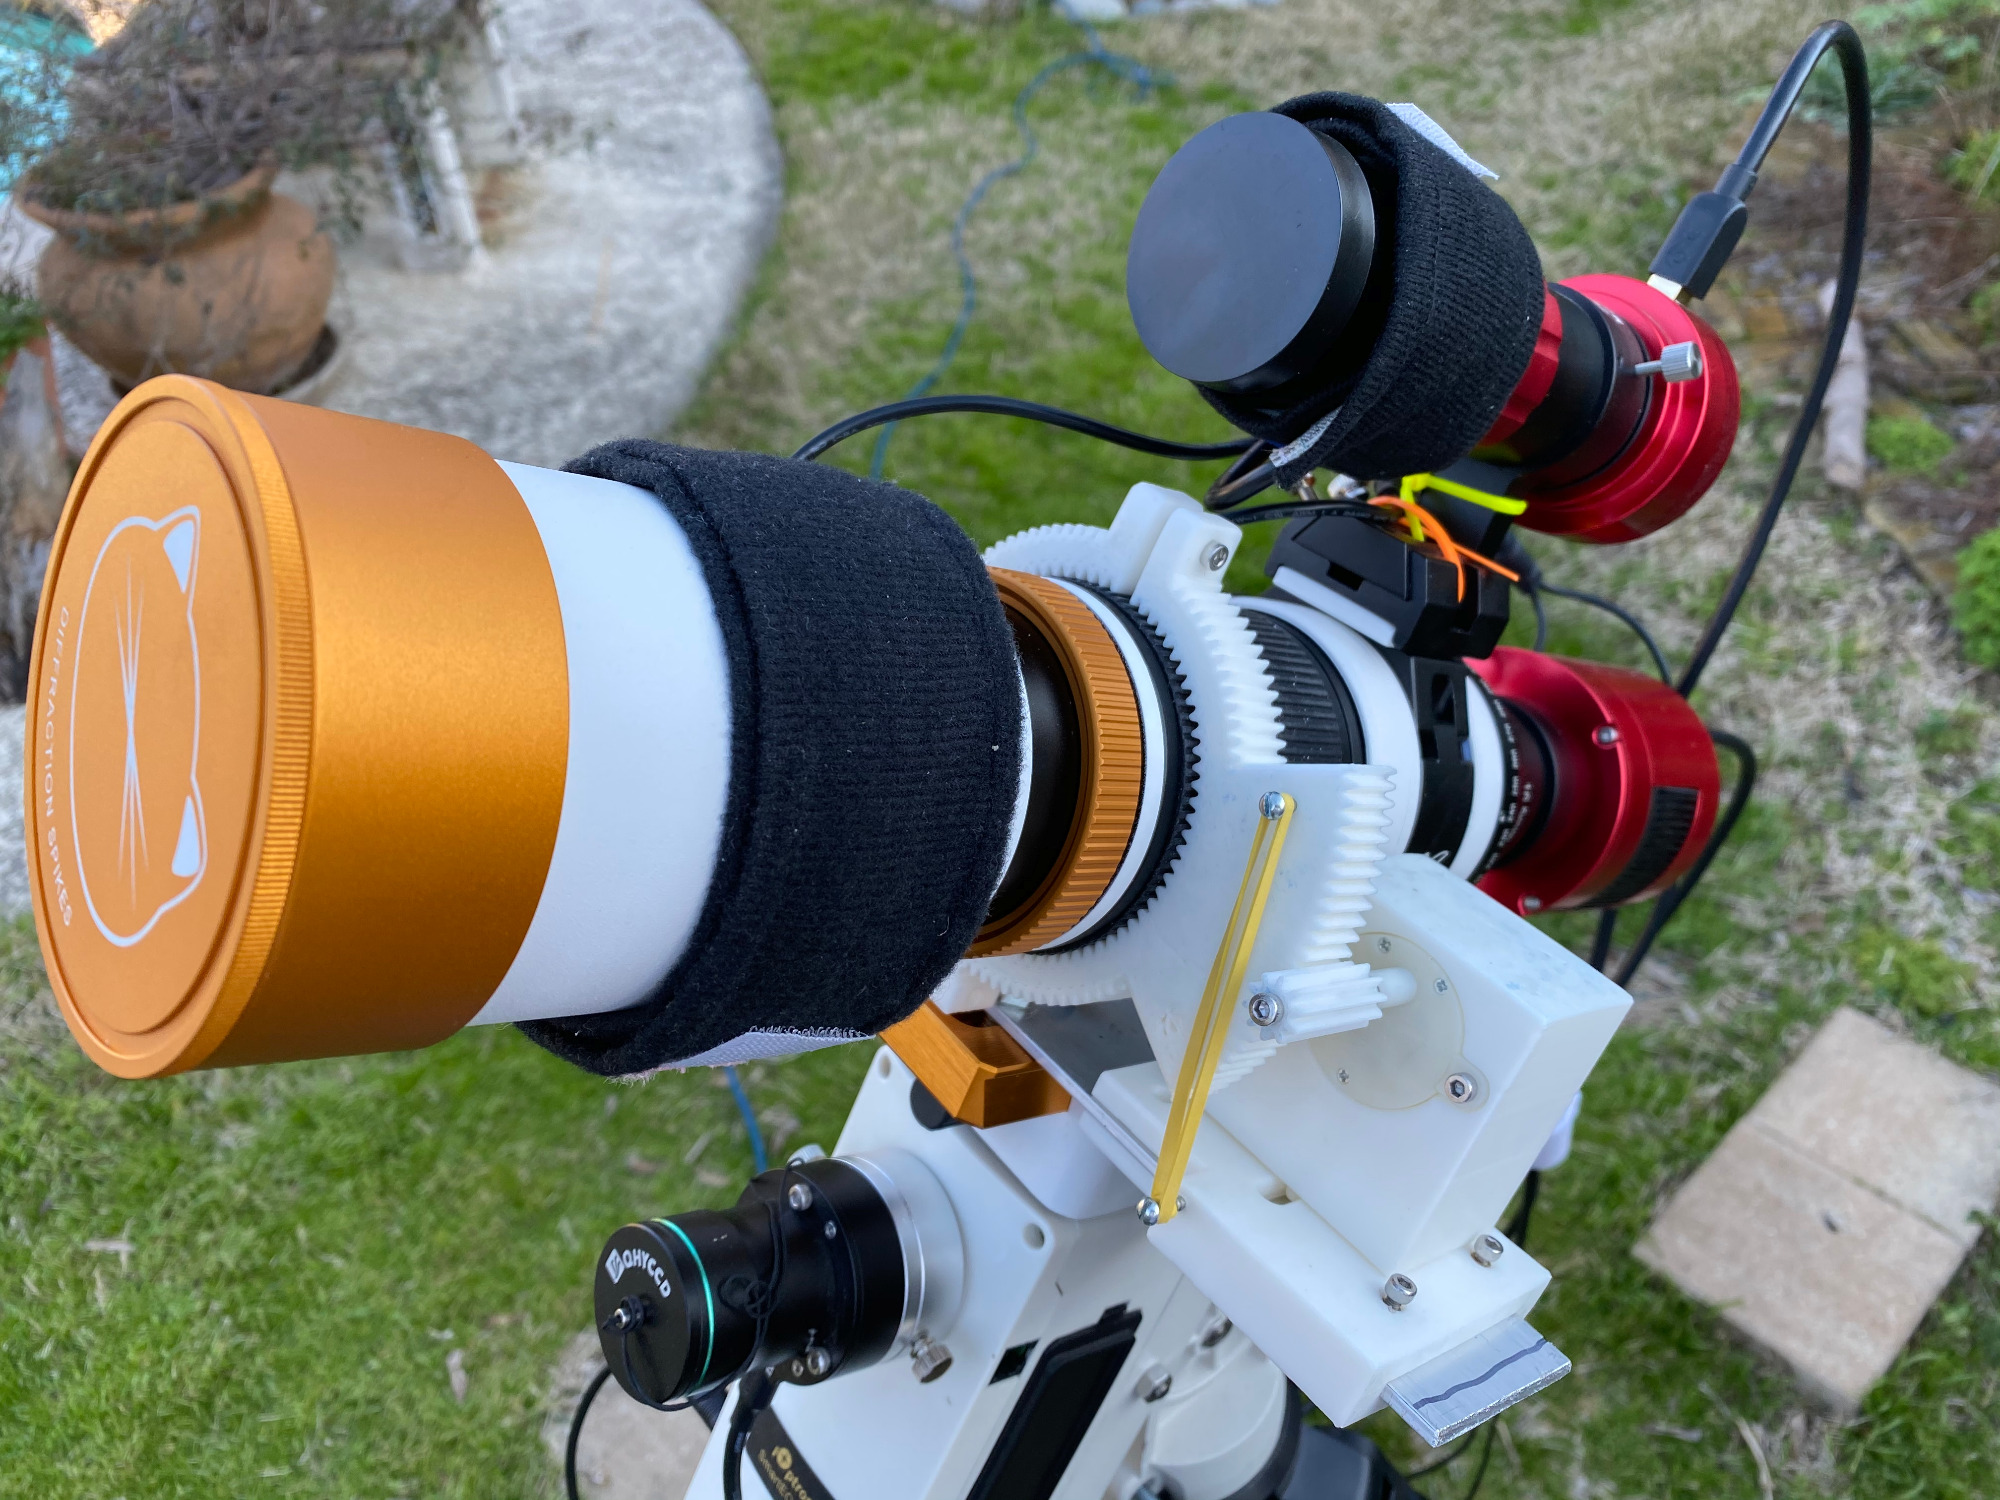
I currently have the FTF3035B (3.5 inch / 89mm travel) mounted on my ES102CF telescope. The Pegasus Focus Cube 2 was able to be mounted but you can not use the coarse focus on the Feather touch to pair with the Focus Cube 2. They send you several 5mm to various sizes 3mm - 8mm for attachment to focuser from the Focus Cube 2. The coarse focus shaft on my unit was 33mm. I had to mount mine from the Focus Cube 2 to the fine focus shaft on the Feather touch. Also when you remove the coarse focus knob you expose a ball bearing raceway. This would require a covering as well as the 5mm (Focus Cube) to 33mm (Feather touch) coupler to protect the ball bearing raceway.
Using the fine focus shaft presents problems in that the Pegasus has a stepper motor with small increments. The average focus for my camera is around 43mm. In the 'Main Control' I set my 'Max Position' to 395000, this gives me about a 5 mm buffer and I have never racked my focuser out to that position for any purpose. I have one of my presets for 200000 as this places me close to average focus position. The movement to this position, needless to say is ssslooooooooowwwwww...
If anyone knows of any settings, upgrades, or improvements; please I am all ears
Jim
Please Log in or Create an account to join the conversation.
- Jose Corazon
-
- Offline
- Supernova Explorer
-

- Posts: 1119
- Thank you received: 182
Replied by Jose Corazon on topic Feathertouch and Pegasus Focus Cube 2
I have designed and 3D printed an entire autofocuser using an analog motor and FCUSB from scratch for my WO WhiteCat and thanks to Hy's Linear Focusing Algorithm it works spectacularly well.
I also built a separate focuser for an RC8 where the same type of motor (different RPM) is coupled to the fine focus knob via a Velcro patch. That works also very well.
The material costs for these focusers is minimal, ~ $20, plus the FCUSB ($75) of which you only need one.
Please Log in or Create an account to join the conversation.
Replied by Jim S. on topic Feathertouch and Pegasus Focus Cube 2
Unfortunately I do not know anyone with a 3D printer... To be honest I don't have enough engineering skills to use CAD, or design such a device on paper. I completely understand what your saying but execution is another matter.
Awesome stuff El Corazon
Just attached Focuser this evening:
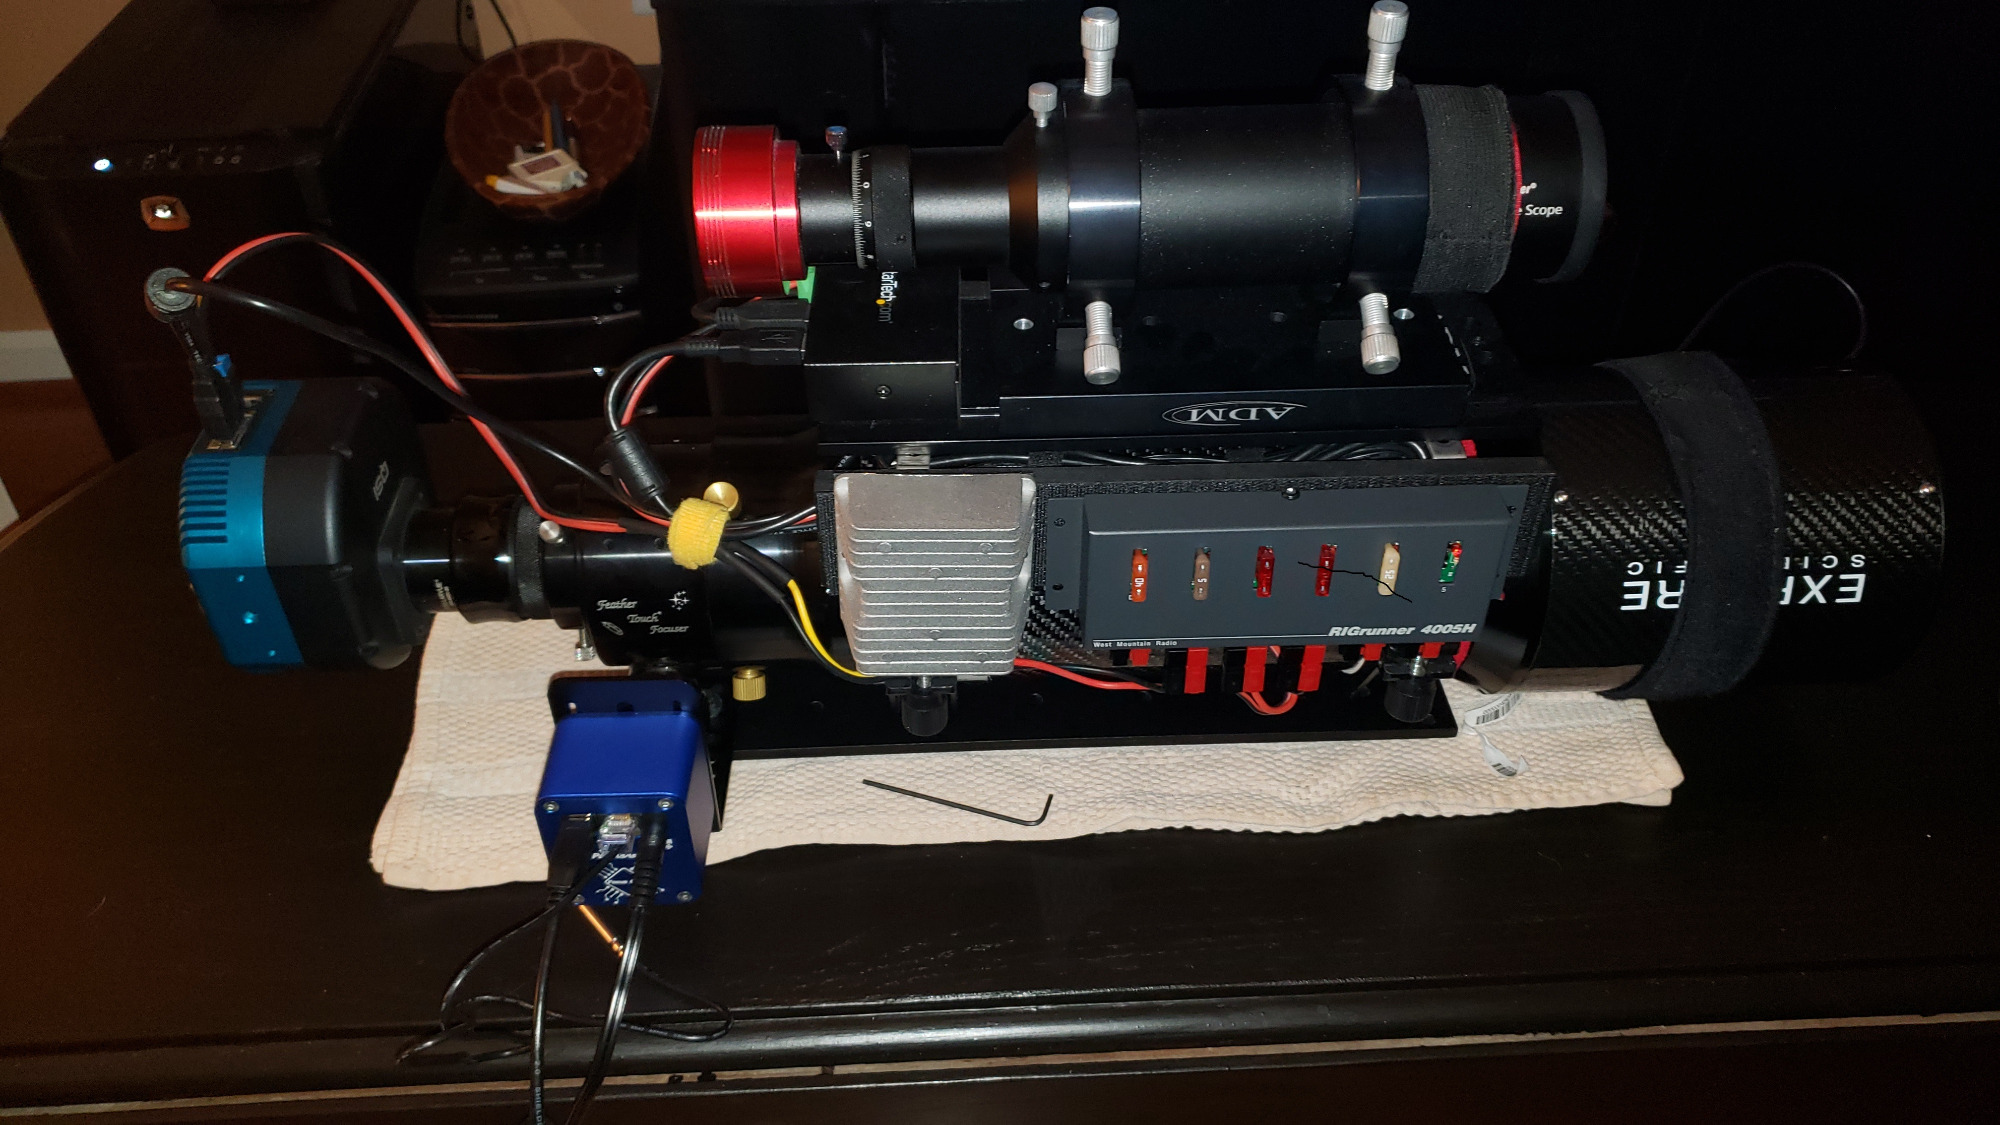
Jim
Please Log in or Create an account to join the conversation.
- Jose Corazon
-
- Offline
- Supernova Explorer
-
- Posts: 1119
- Thank you received: 182
Replied by Jose Corazon on topic Feathertouch and Pegasus Focus Cube 2
He passed on taking it with him to his apartment for space reasons, so it stayed in my home office and I started playing around with it. Never had used CAD before in my life. There are several free programs, I use FreeCAD on Linux, it does all the simple designs I need for the moment.
It is addictive, and immensely useful for fixing all sorts of things around the house.
Now I no longer remember how I ever lived without a 3D printer.
These things are quite affordable, an excellent entry level 3D printer is only ~$ 250.
We should connect off-line. If you send me a PM we can exchange email addresses and you can send me images of what you need. I'll see if I can design the part (if it is not too complicated) then send you the STL file. There are online printing services where you can upload the file and then get the custom part delivered by mail.
What makes this hobby so much fun is also the tinkering and problem solving (at least for me!). My ability to take good quality images is limited (from the middle of a large city), so I welcome the other part adding to the fun factor.
Best wishes
Jo
Please Log in or Create an account to join the conversation.
- Jose Corazon
-
- Offline
- Supernova Explorer
-
- Posts: 1119
- Thank you received: 182
Replied by Jose Corazon on topic Feathertouch and Pegasus Focus Cube 2
Actually, that doesn't look so hard. You may not even have to take the coarse focusing knob off. All you need is an adapter that wraps around the coarse focusing knob and couples to the shaft of the stepper motor. Provided the bracket is long enough to allow that.
You just need to take some measurements. With a little luck, that will be very easy and quick to fix.
Please Log in or Create an account to join the conversation.
Replied by Jim S. on topic Feathertouch and Pegasus Focus Cube 2
I use Linux myself and do like to tinker
")
Please Log in or Create an account to join the conversation.
- Jose Corazon
-
- Offline
- Supernova Explorer
-
- Posts: 1119
- Thank you received: 182
Replied by Jose Corazon on topic Feathertouch and Pegasus Focus Cube 2
Please Log in or Create an account to join the conversation.
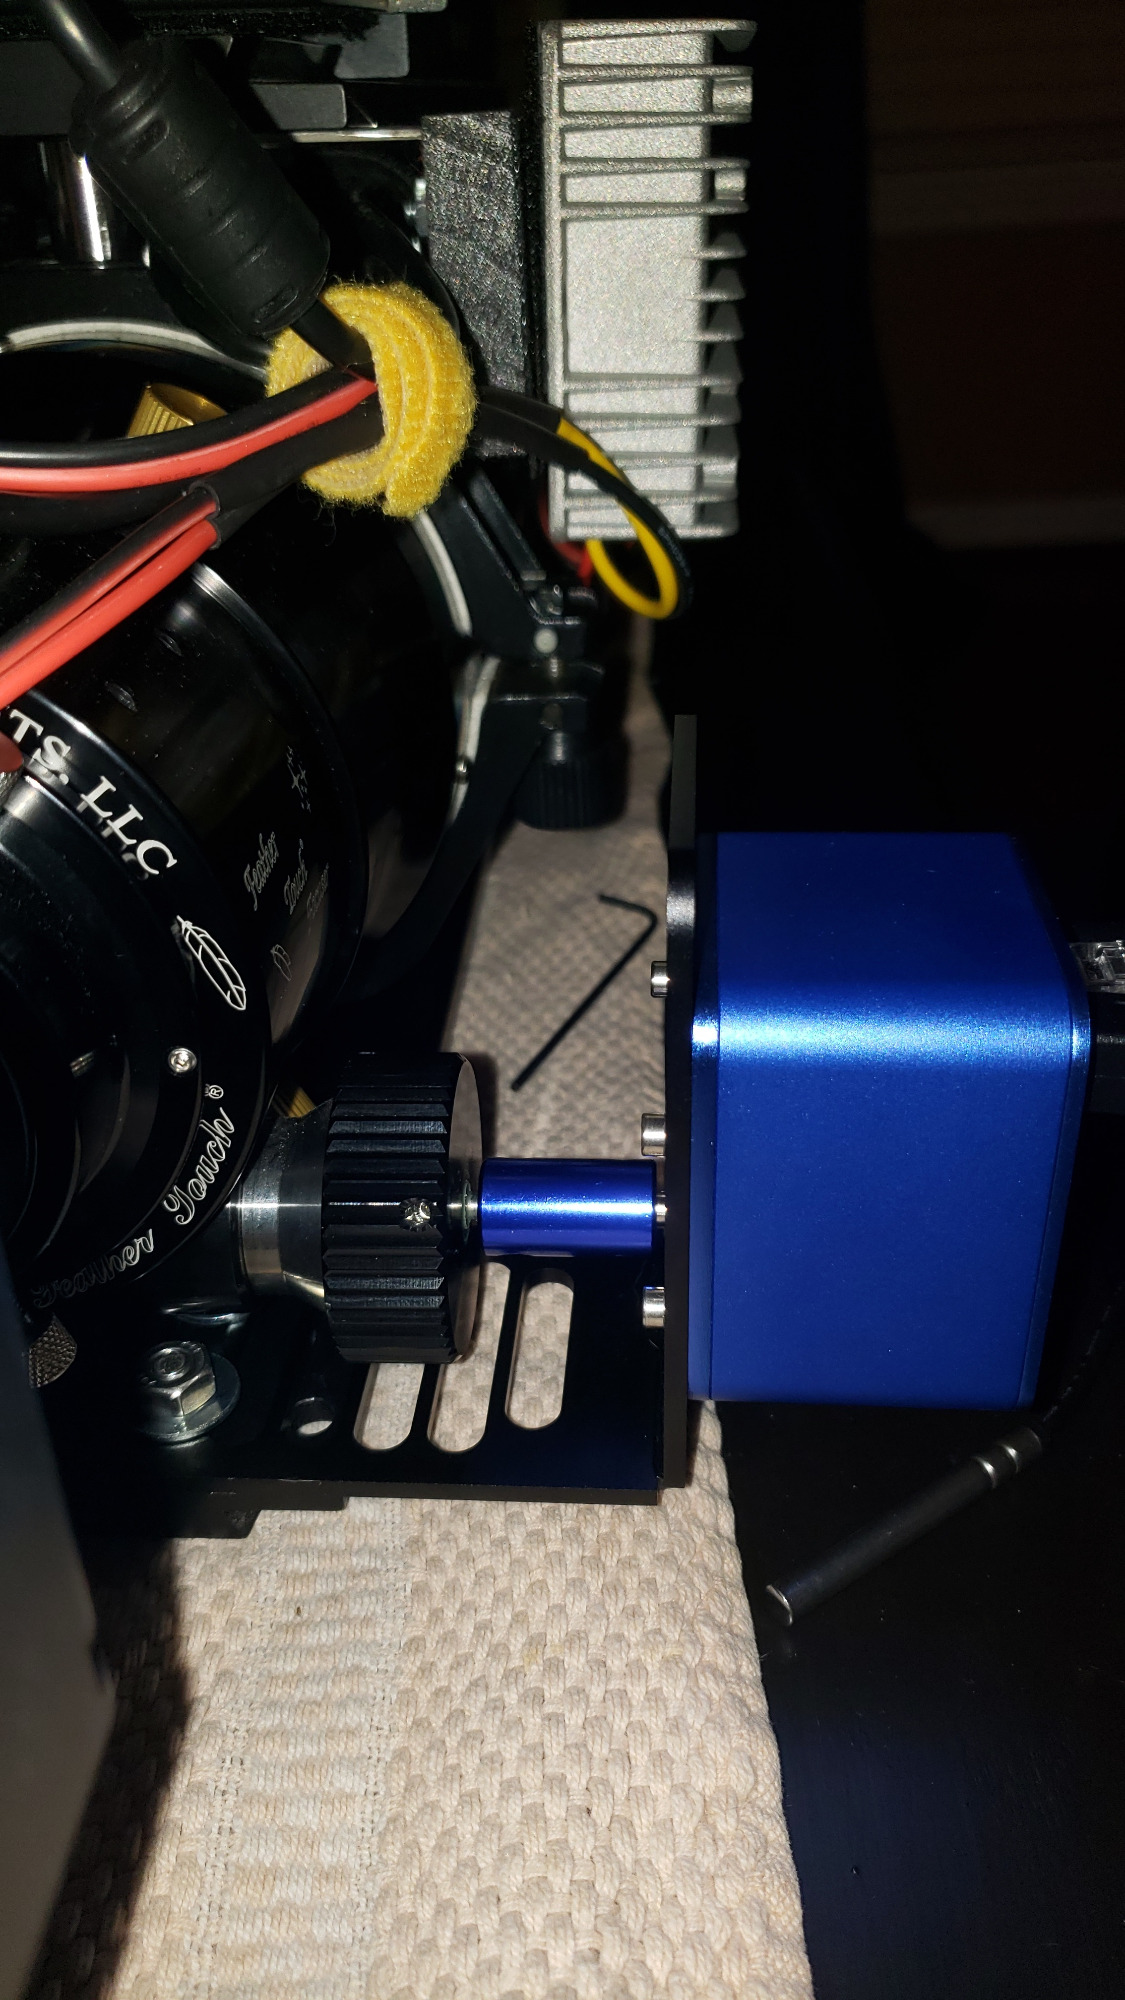
Replied by Jim S. on topic Feathertouch and Pegasus Focus Cube 2
The current setup there is 3cm between the base of the motor shaft and the leading edge of the coarse focus knob. For the reverse side it will narrow down to 2.5cm as the coarse knob extends slightly more out than on the fine/coarse side.
Please Log in or Create an account to join the conversation.
- Jose Corazon
-
- Offline
- Supernova Explorer
-
- Posts: 1119
- Thank you received: 182
Replied by Jose Corazon on topic Feathertouch and Pegasus Focus Cube 2
Please Log in or Create an account to join the conversation.

Replied by Javier on topic Feathertouch and Pegasus Focus Cube 2
I agree with El Corazon that 3D printing is addictive. I have mine since February, and design with Freecad too. Two month ago I knew nothing on 3D printers.
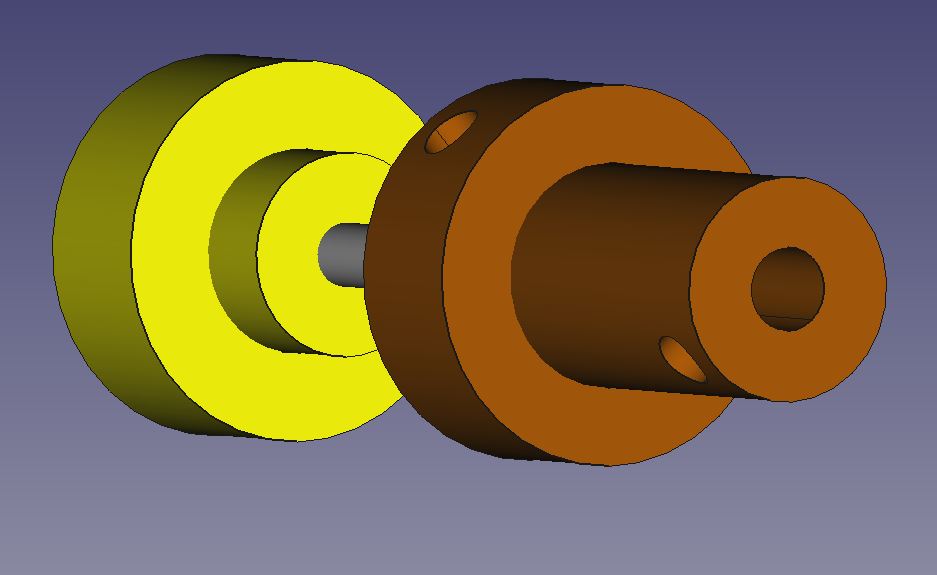
I have been testing a way to engage the main shaft to the motor. You may need to print a plastic coupling as shown (yellow part is the main shaft and brown part is the new coupling).
I had some slippage problems with the first prototype, but I have redesigned a bigger coupling. Unfortunately I have not tested it due to the COVID-19, as we have to be confined at home.
This way the focuser is not so slow, and the resolution is good enough, in the range of 2 microns/step.
Finally, you cannot manually rotate the focuser, but we'll think about that...
Regards, Javi.
Please Log in or Create an account to join the conversation.
- Jose Corazon
-
- Offline
- Supernova Explorer
-
- Posts: 1119
- Thank you received: 182
Replied by Jose Corazon on topic Feathertouch and Pegasus Focus Cube 2
Would love to see it.
Jo
Please Log in or Create an account to join the conversation.
Replied by Javier on topic Feathertouch and Pegasus Focus Cube 2
To tighten the plastic coupling to the shaft I use brass inserts, much better than a plastic thread.
Regards, Javier.

Please Log in or Create an account to join the conversation.