
For me the whole point of the extra partition was to make a backup of the Stellarmate image easy when its on the SSD. I went looking for a backup solution and found rpi-clone. A great script which copies partitions and creates bootable images.
To get rpi-clone:
$ git clone https://github.com/billw2/rpi-clone.git
$ cd rpi-clone
$ sudo cp rpi-clone rpi-clone-setup /usr/local/sbin
I make the backup to a SD card. I am only going to backup the first 2 partitions, boot and root.
I used:
sudo rpi-clone -f2 /dev/mmcblk0
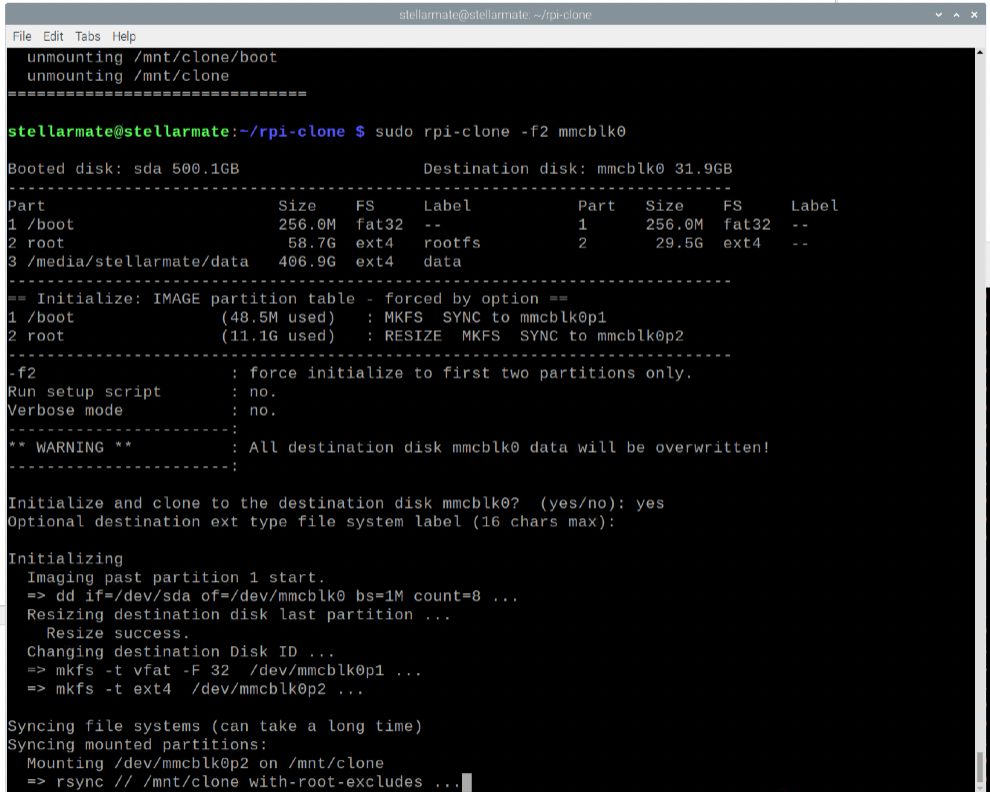
This enabled my to make a bootable clone to a 32GB SD card. More importantly I can clone this back onto a SSD in case of failure. I always copy my imaging data from Pictures at the end of each session so it doesn't require backing up.
This enabled ey to make a bootable clone to a 32GB SD card. More importantly I can clone this back onto a SSD in case of failure. I always copy my imaging data from Pictures at the end of each session so it doesn't require backing up.
Read More...
© 2003-2022 by INDI Library. All rights reserved.